
.webp?w=1448&h=1086&q=80)
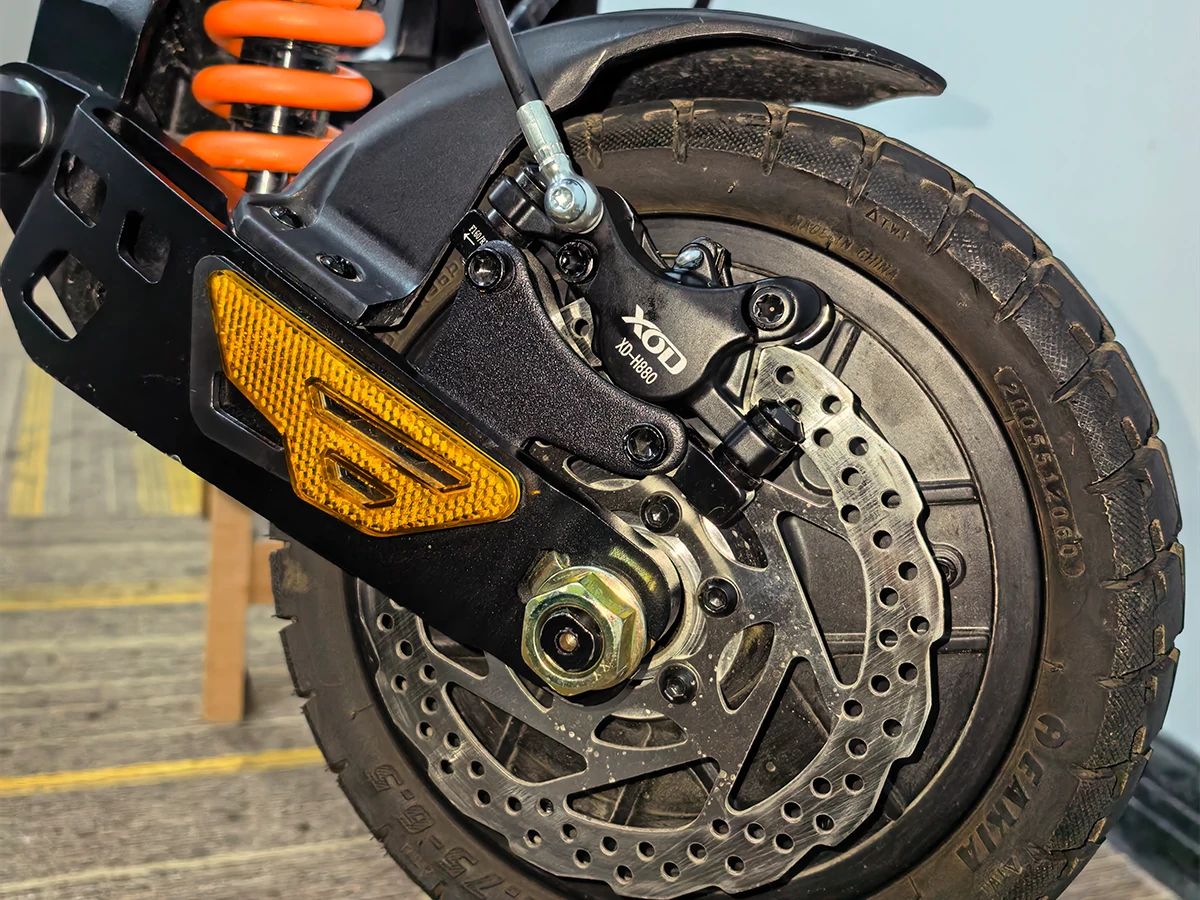
"Holy XOD brakes!"
"Finally, my XOD kit arrived 😍"
If you’ve been hanging around electric scooter forums or watching upgrade videos, you've probably seen the hype. Let’s get real: the stock mechanical cable brakes on many KuKirin models are fine for casual cruising, but when you are hitting 40+ km/h on a G2 Master or G4, you need serious stopping power.
Upgrading to hydraulic brakes gives you a massive bite force, shorter stopping distances, and a buttery-smooth lever feel. But before you start tearing your scooter apart, hold on.
While the physical installation is a doable DIY project, there are a few critical KuKirin-specific traps that leave many beginners dealing with locked motors, rubbing tires, or missing sensors. Grab your hex keys. Here is your ultimate, mechanic-approved guide to installing XOD hydraulic brakes without the headache.
📏 The XOD Cheat Sheet & Moto-Style Trick
When you order the XOD H-Series (XD-H880 or XD-H800), here is the default factory setup you pull out of the box:
- Left Brake Lever: Controls the Rear Caliper (Hose: 2150mm)
- Right Brake Lever: Controls the Front Caliper (Hose: 1350mm)
Pro Mechanic Tip: Used to a motorcycle setup where the right hand controls the front brake? Because XOD uses a split-connection design, you don't need to buy a special kit. Before routing the hoses through your deck, simply swap the hose connections at the levers. Easy.
🛑 The 3 Fatal KuKirin Installation Traps
Most frustrated posts about "mounting issues" or "missing brake sensors" come down to these three exact mistakes. Read this before you wrench!
Trap 1: The G2 & G4 Display Cable Nightmare
The Issue: You mount the new brakes, but the power-off sensor plug doesn't fit your display.
The Fix: KuKirin G2 and G4 models use a completely different display interface compared to the rest of the lineup. If you own a G2 or G4, you must buy the specific display adapter cable. Without it, your brake sensors won't talk to your motor.
👉 Grab the KuKirin G2/G4 Adapter Cable here.
Trap 2: The 5mm Spacer Rule (G2 Series)
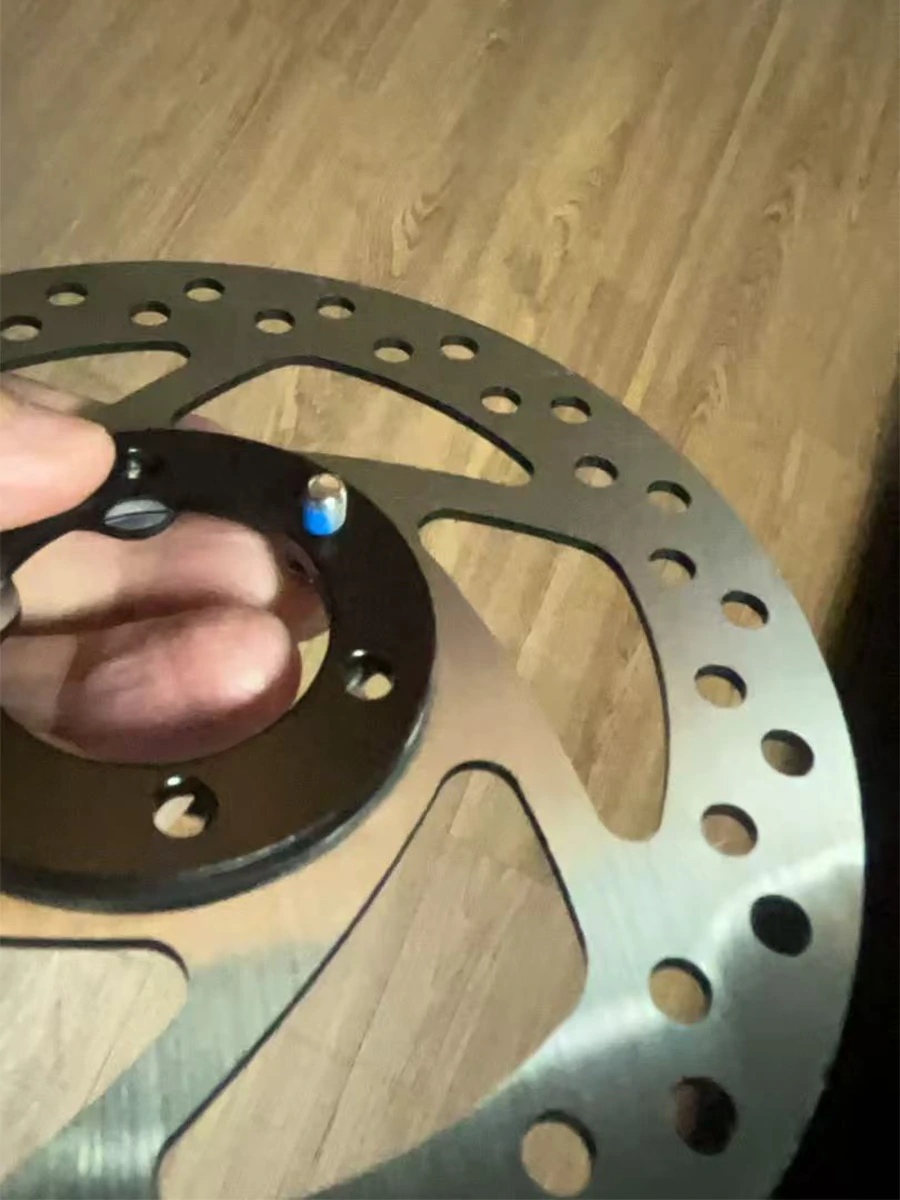
The Issue: You bolt on the new front caliper, and it brutally scrapes against your tire or hub motor.
The Fix: The KuKirin G2 (front wheel), G2 Pro (front and rear), and G2 Max (front and rear) did not leave enough factory clearance for a thicker hydraulic caliper. You need to install a 5mm brake disc spacer between the motor and the rotor (easily found on Amazon for about $15). Do not force the caliper on without it!
Trap 3: The Golden Bracket Rule
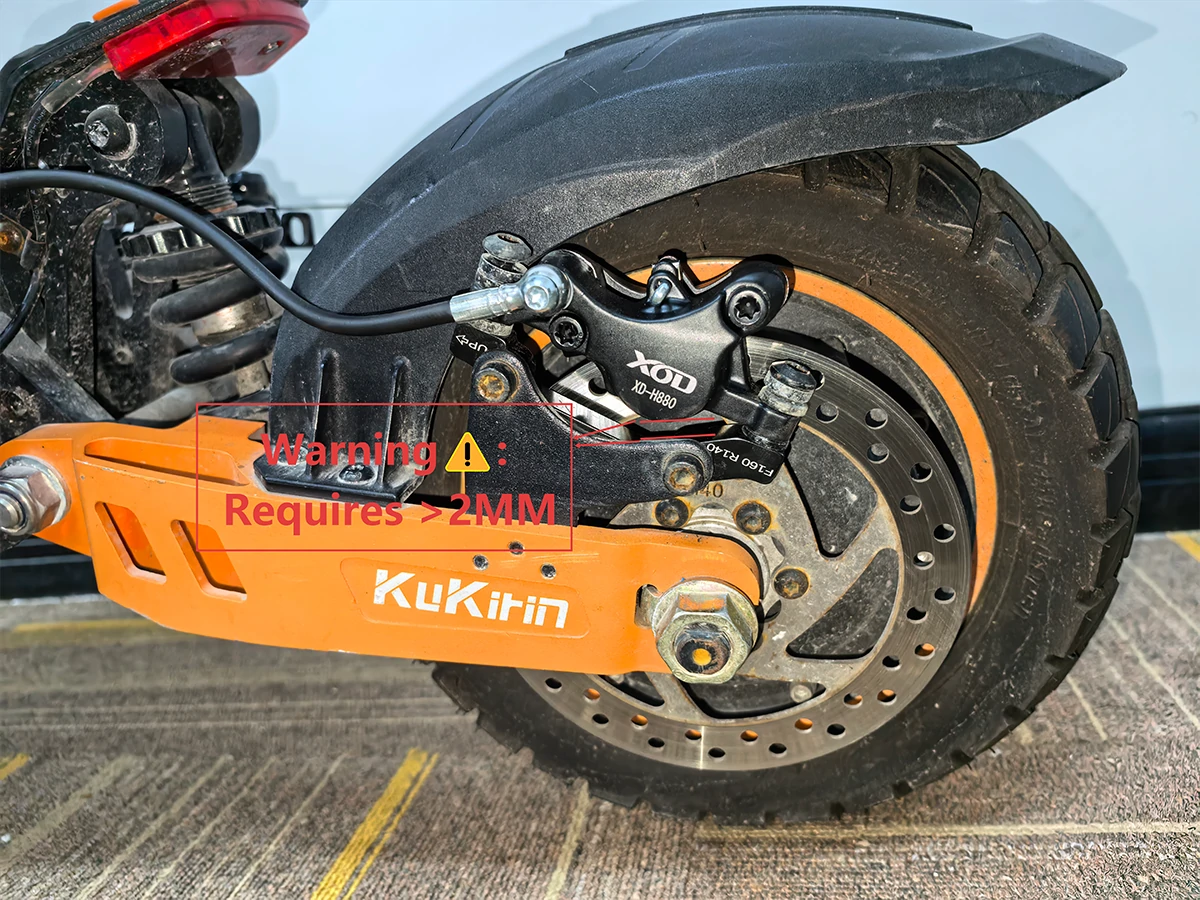
The Issue: Your new caliper won't align with the brake rotor, no matter how much you adjust it.
The Fix: When taking your new XOD caliper out of the box, take off the brand-new bracket it comes with and throw it in your spare parts bin. Always reuse your KuKirin’s original factory caliper bracket, original screws, and original metal washers. Doing this guarantees a 100% perfect alignment right off the bat.
🔧 The Fast-Track Installation Breakdown
We won't bore you with a 20-page manual, but here is the essential workflow for a successful swap:
- 1. Kill the Power: Turn your scooter completely off and put it on a stable stand. You do not want the motor kicking in while your fingers are near the rotor.
- 2. Drop the Old Hardware: Unbolt the mechanical calipers, remove the old levers, and carefully pull the old steel cables out of the frame.
- 3. Mount the XOD Calipers: (Remember Trap #3: Use your original brackets!). Leave the caliper bolts slightly loose so the caliper can wiggle.
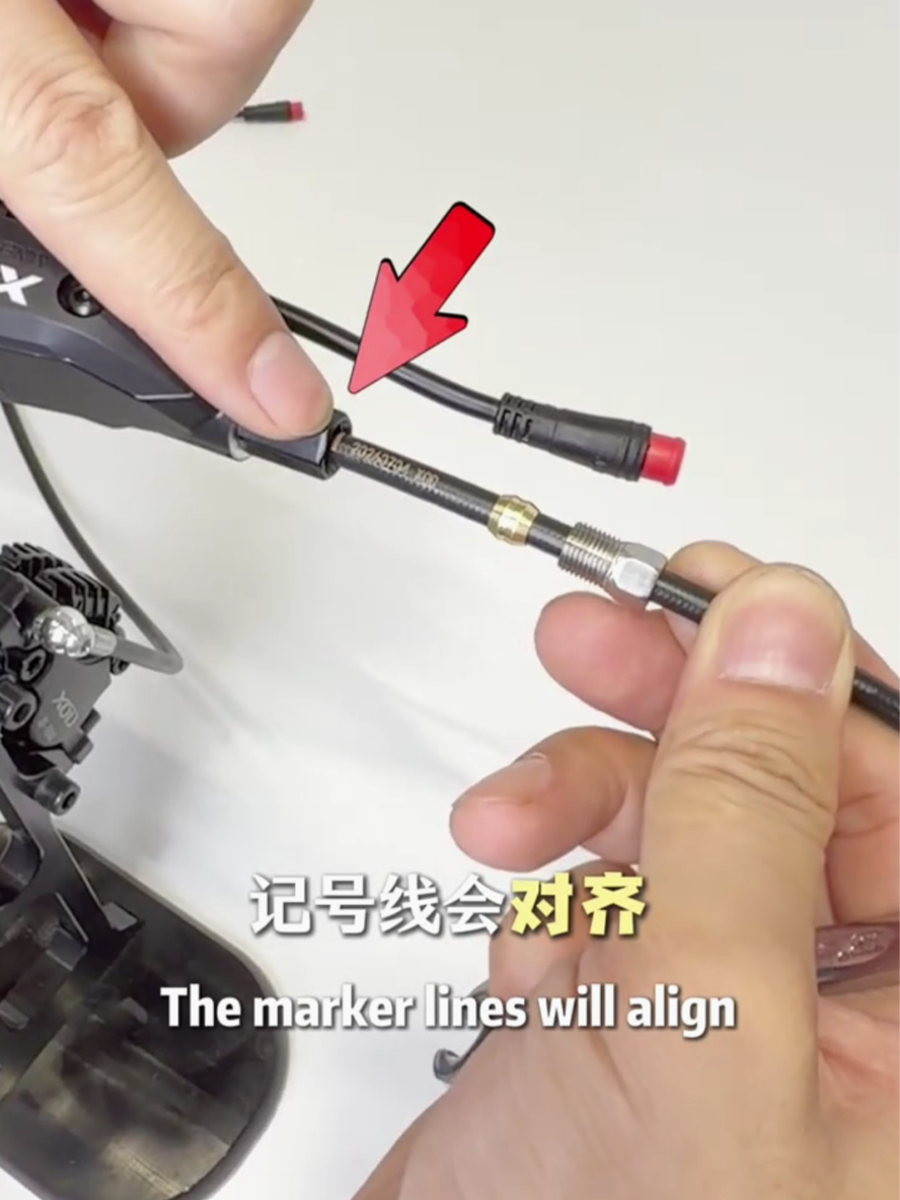
- 4. Route the Hoses: Feed the new hydraulic lines through the stem and deck. Thanks to XOD's split-connection, threading the hose is a breeze. Need visual help? Read our complete Split-Hose Routing Manual here.
- 5. Align and Tighten: Spin the wheel and squeeze the brake lever hard. While holding the lever tight (this centers the caliper perfectly on the rotor), tighten the caliper bolts.
❓ Quick Troubleshooting & FAQs
"I installed the brakes, but my scooter motor is locked/won't accelerate!"
Check your brake sensor wires. If you installed them on a G2/G4 without the proper adapter cable, or plugged them in backward, the scooter's computer thinks you are permanently holding the brakes.
"My new brakes feel a little soft or squeal on the first ride. Do I need to bleed them?"
Probably not! XOD brakes come pre-bled from the factory. What you are experiencing is the lack of "bedding in." Go to an empty parking lot, get up to 25 km/h, and brake firmly to a near stop (don't skid) 10 to 15 times. This transfers pad material to the rotor and unlocks their true stopping power. Only attempt a fluid bleed if the lever continues to pull all the way to the handlebar.