
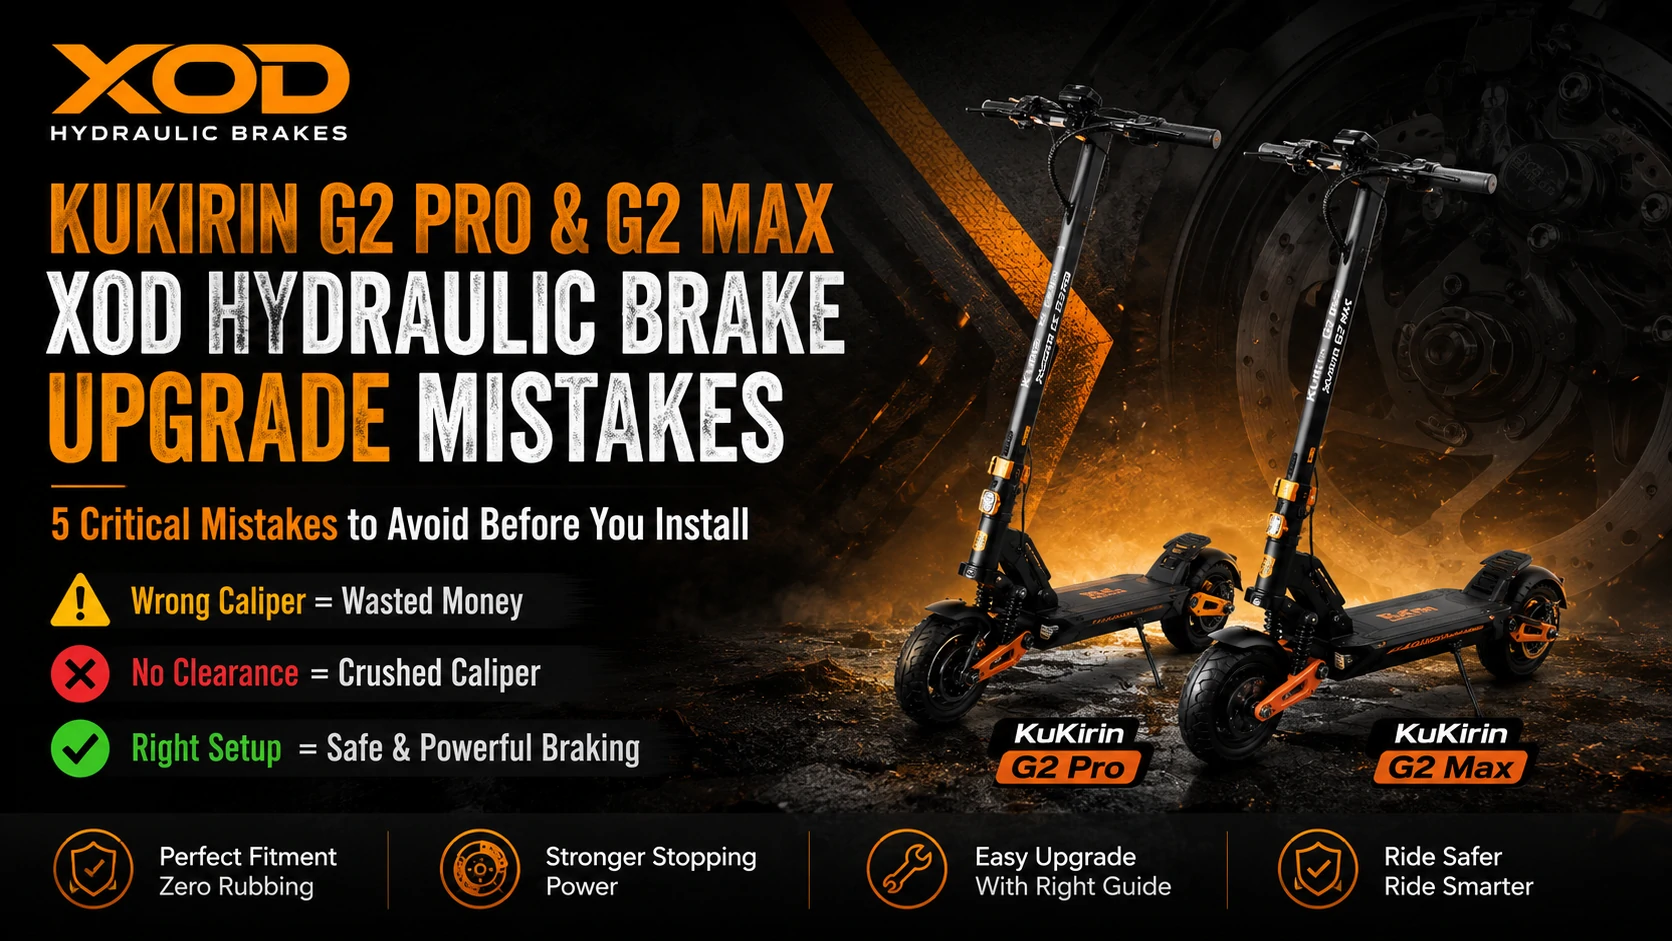
"Just last week, a rider emailed us in a panic. He had crushed his brand-new hydraulic caliper while installing it on his KuKirin G2 Max simply because he tightened the bolts too hard without checking the clearance."
Upgrading to XOD hydraulic brakes delivers unmatched stopping power, but KuKirin G2 Pro and G2 Max have highly specific frame designs. Forcing a standard installation can instantly destroy your new calipers or damage your scooter's frame.
Before you touch a single wrench, read this guide to avoid the 5 most common (and expensive) mistakes.
⚡ TL;DR: Quick Fitment Cheat Sheet
- KuKirin G2 Pro (2023): Front H800 / Rear H880 (+ 5mm Front Spacer Required)
- KuKirin G2 Pro (2024): Front H880 / Rear H880 (+ 5mm Front Spacer Required)
- KuKirin G2 Max: Front H800 / Rear H880 (Must ensure >2mm gap before tightening)
❌ Mistake 1: Buying the Wrong Caliper (The G2 Pro Year Trap)
- ⚠️ The Hidden Trap: The rear wheel always uses an H880 (left side). But the front wheel layout changes depending on the production year!
- 📅 2023 Version (Double Left): Brake discs are on the LEFT for both wheels. You must buy Front H800 & Rear H880.
- 📅 2024 Version (Right & Left): Front disc is on the RIGHT, rear is on the LEFT. You must buy Front H880 & Rear H880.
- 👀 Golden Rule: Always physically check your front wheel's brake disc side before ordering!
❌ Mistake 2: Forcing the Installation (Tire Rubbing)
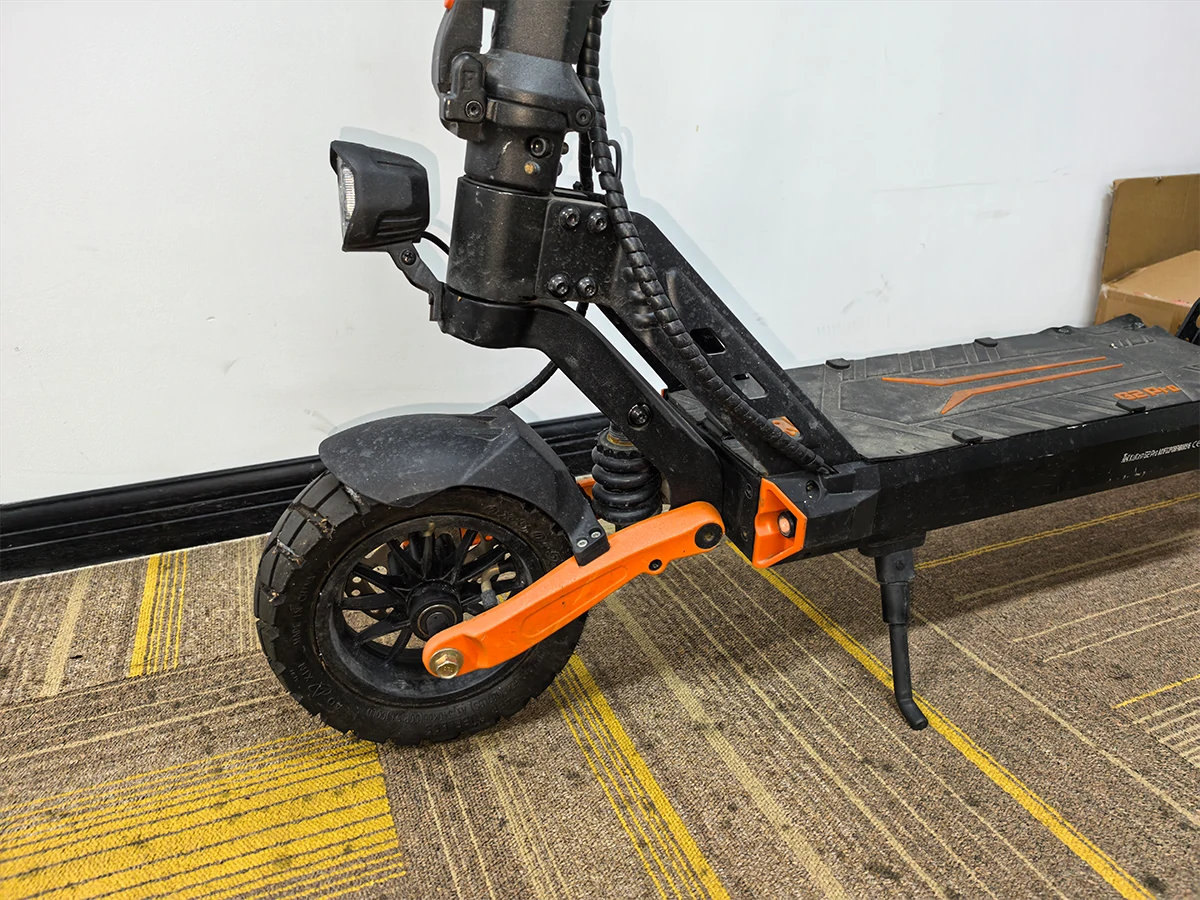
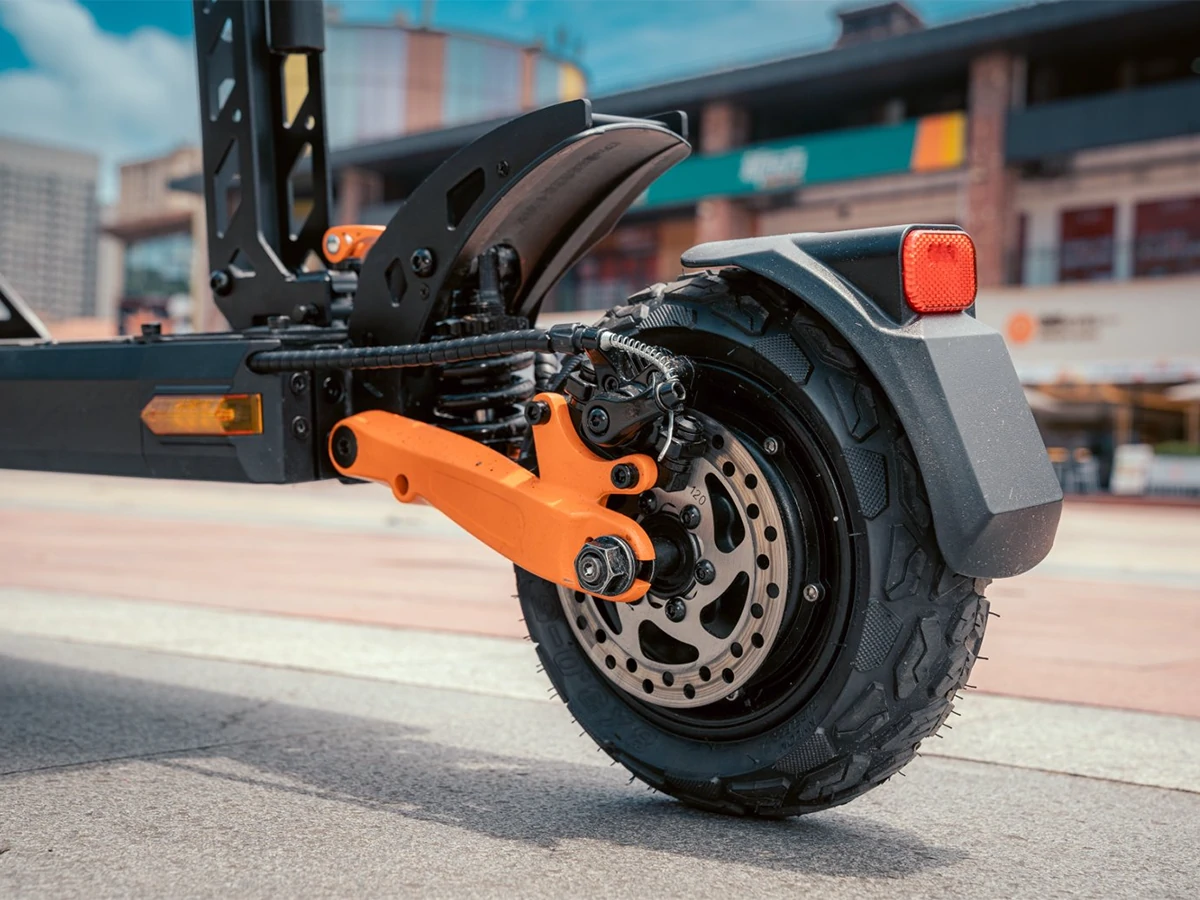
- 🛑 Clearance Issue: The KuKirin G2 Pro does not have enough factory clearance for a dual-piston hydraulic caliper.
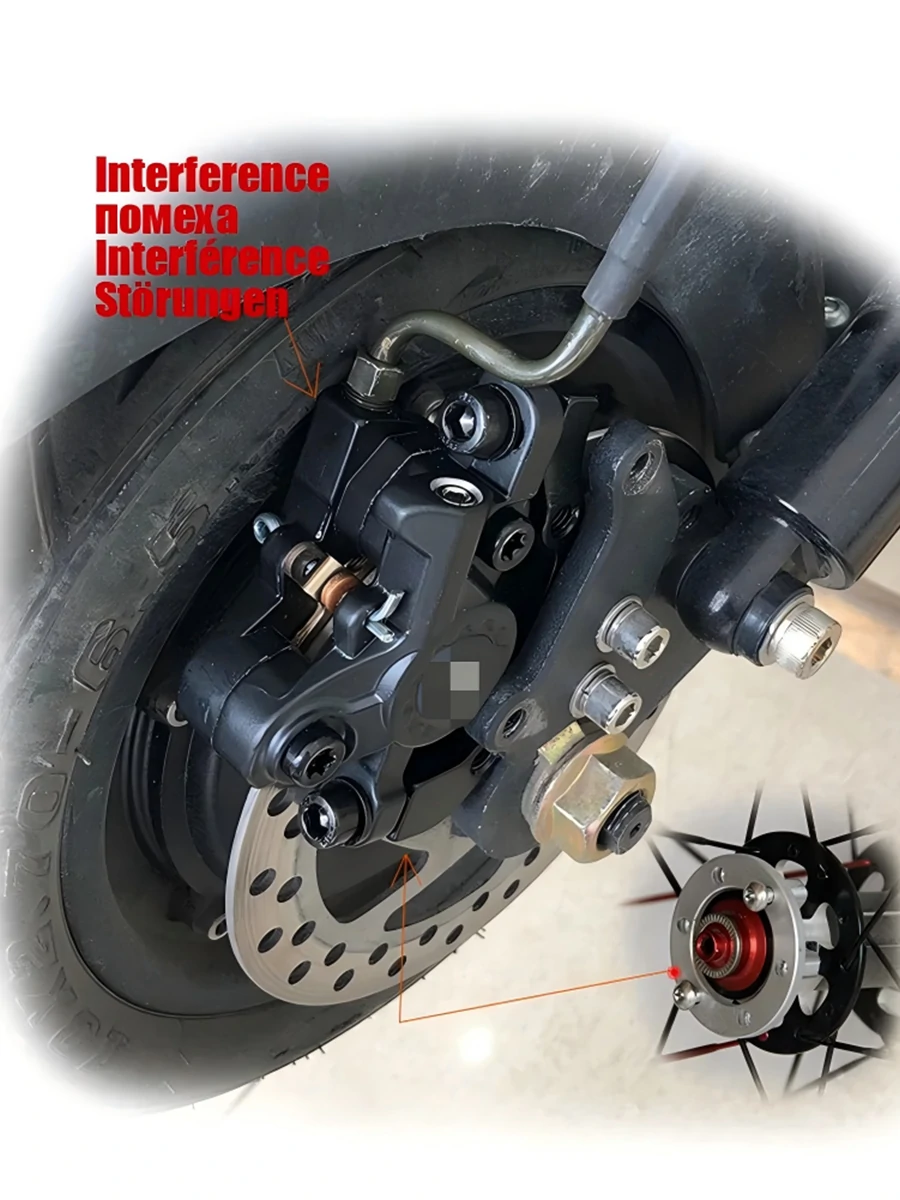
- 💥 The Danger: Bolting the XOD caliper directly on will cause the wider body to brutally scrape against your tire or motor hub.
- ✅ The 5mm Fix: You MUST install a 5mm Brake Disc Spacer between the motor and the rotor.
- 🛒 Where to Buy: Search "Brake disc shim 44mm" on Amazon (Buy a 2mm-5mm combo kit).
❌ Mistake 3: Throwing Away Factory Metal Washers
- 🔩 Keep the Bracket: Always save the original KuKirin brake bracket during removal.
- 💍 Keep the Washers: Do NOT discard the original metal washers from the mounting bolts.
- 🎯 Perfect Alignment: The XOD caliper requires these exact washers to sit perfectly centered over the brake rotor.
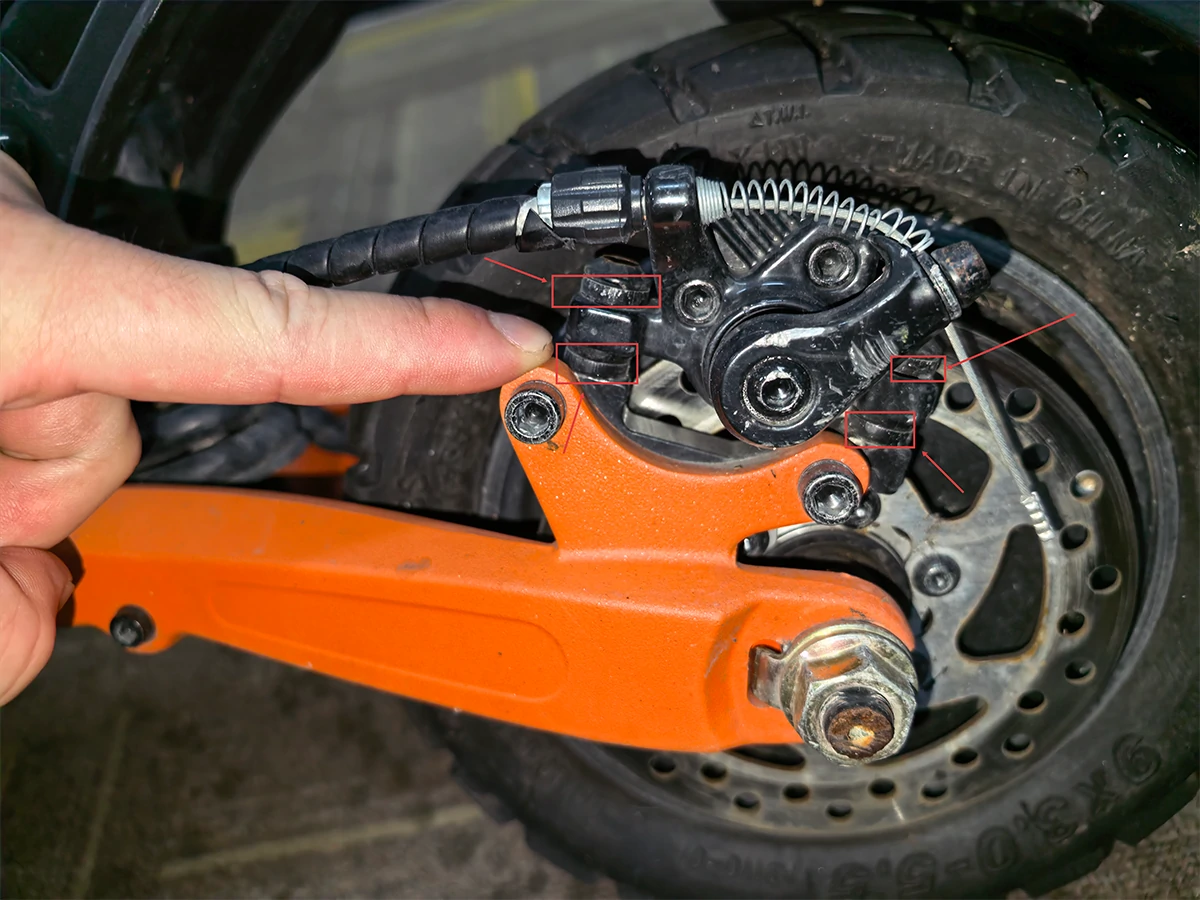
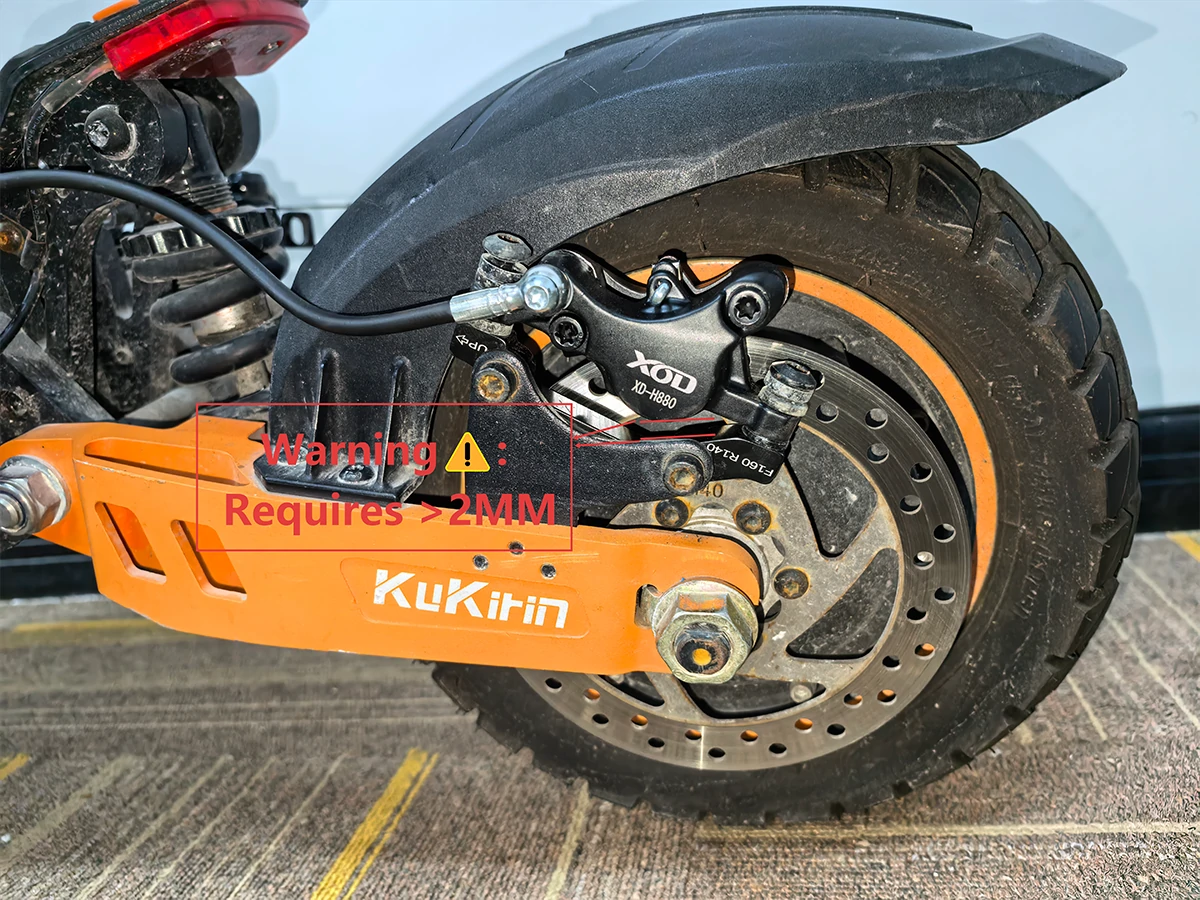
❌ Mistake 4: Crushing the Caliper Body (G2 Max Exclusive)
- 🔧 Clean Setup: The KuKirin G2 Max allows for a clean, lossless installation.
- ⚠️ The 2mm Gap Rule: There MUST be at least a 2mm gap between the XOD caliper body and the scooter's mounting bracket!
- 💥 The Consequence: If they touch, the extreme pressure from tightening the fixing screws will crush the caliper body and destroy the hydraulic seal instantly.
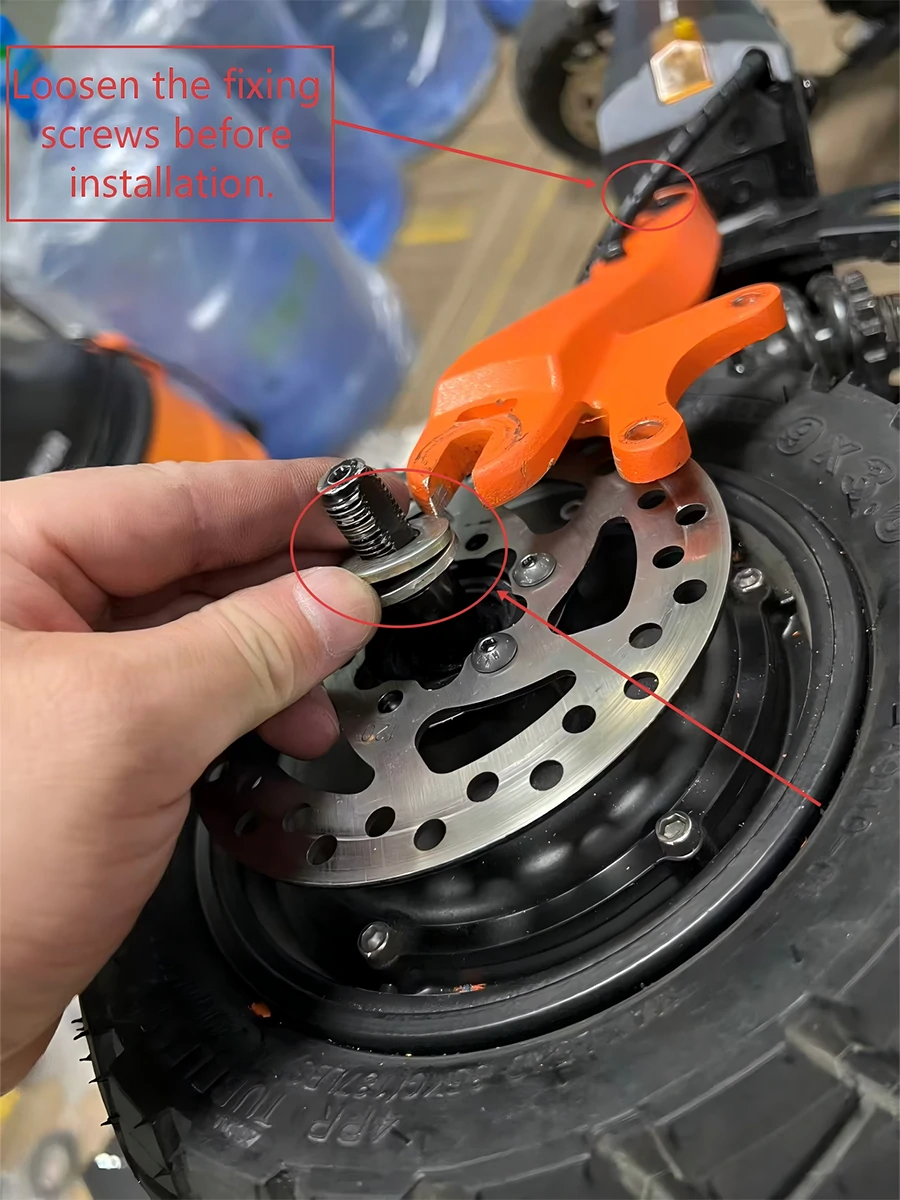
❌ Mistake 5: Ignoring Fork Stress & Bearing Alignment
- 💍 Add an Axle Washer: Place an extra metal washer on the motor axle bearing rod (on the outside of the disc).
- 🔧 Release Tension: Completely loosen the front or rear fork fixing screws before mounting the new caliper.
- ✅ Final Step: Only tighten these fork screws after the entire brake system is installed. This releases hidden mechanical stress in the frame.
🚀 Ready for the Ultimate Upgrade?
Now that you know the secrets to a perfect installation, get the exact XOD H-Series hydraulic brake kit configured for your KuKirin G2 Pro or G2 Max. Experience smoother control and massive stopping power today!
🛠️ Maintain Your Stopping Power
- 🛑 Monitor Pad Wear: XOD hydraulic brakes clamp down with massive force. You will consume brake pads faster than with weak mechanical brakes.
- 🛡️ Stay Safe: Check your pads regularly. When it's time to swap, always use genuine replacements for guaranteed fitment and zero squealing.