
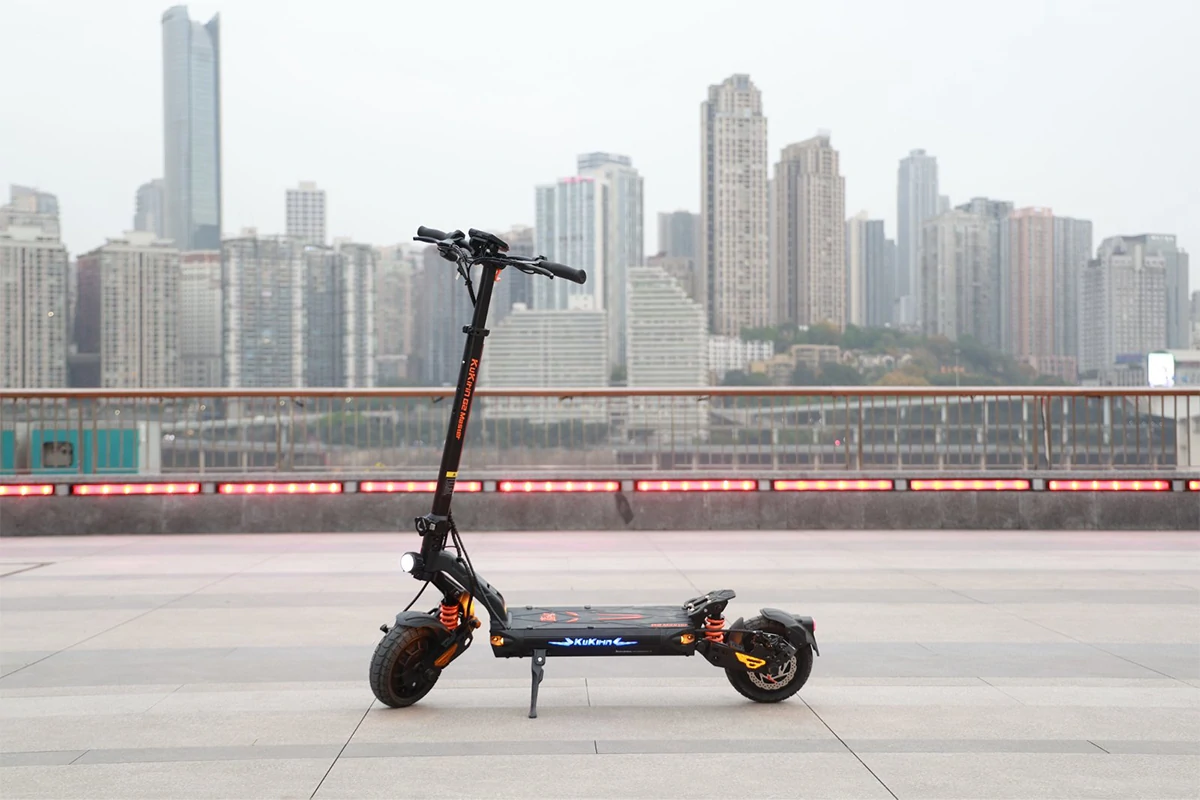
KuKirin G2 Master 2025 Hydraulic Brake Upgrade: XOD H880 Installation Guide
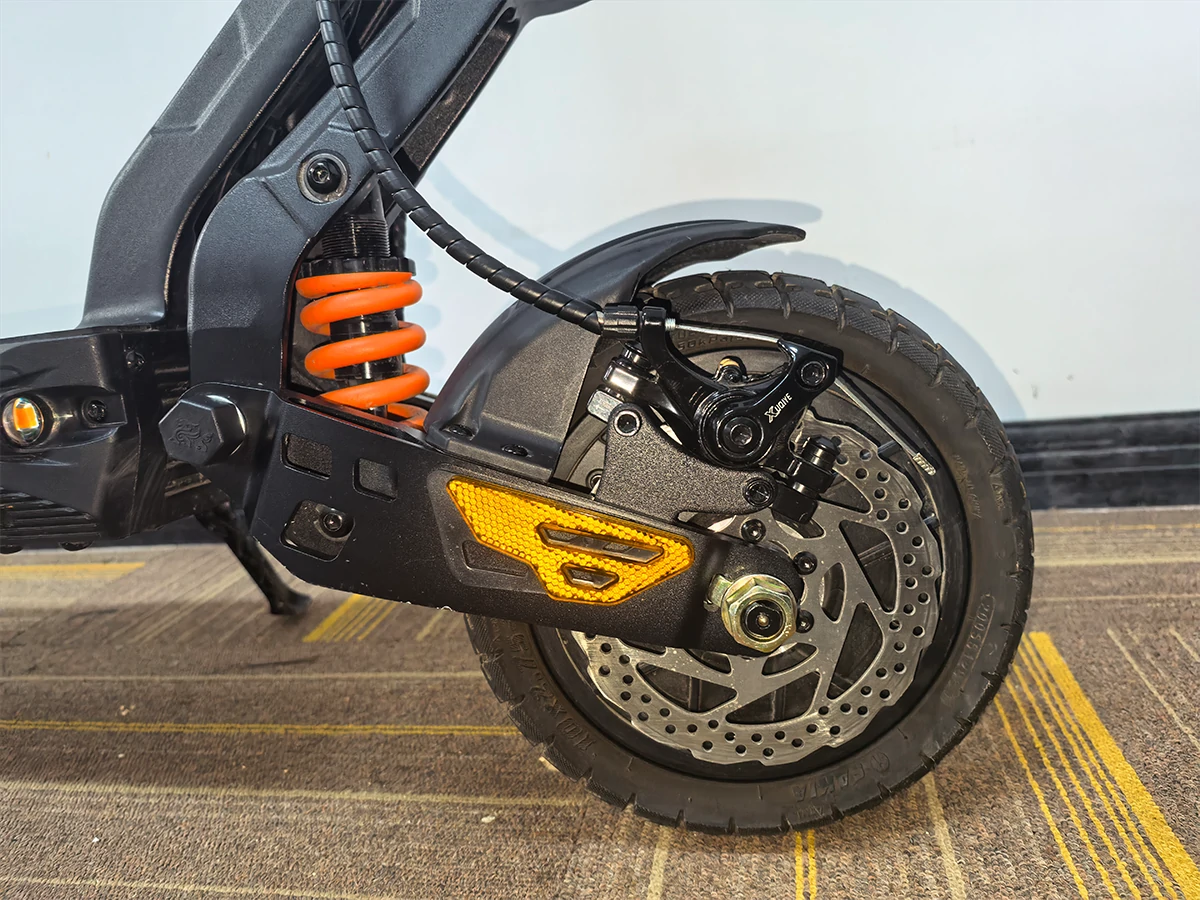
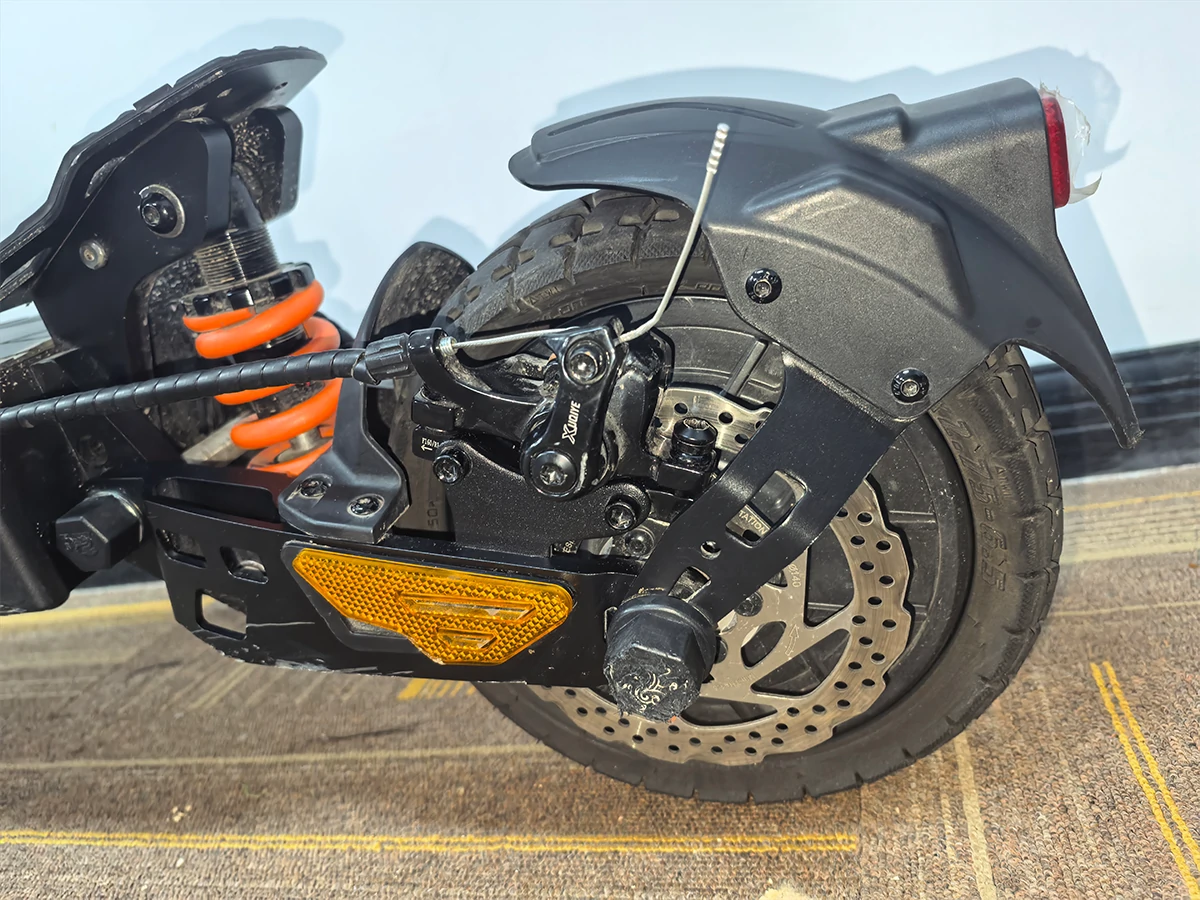
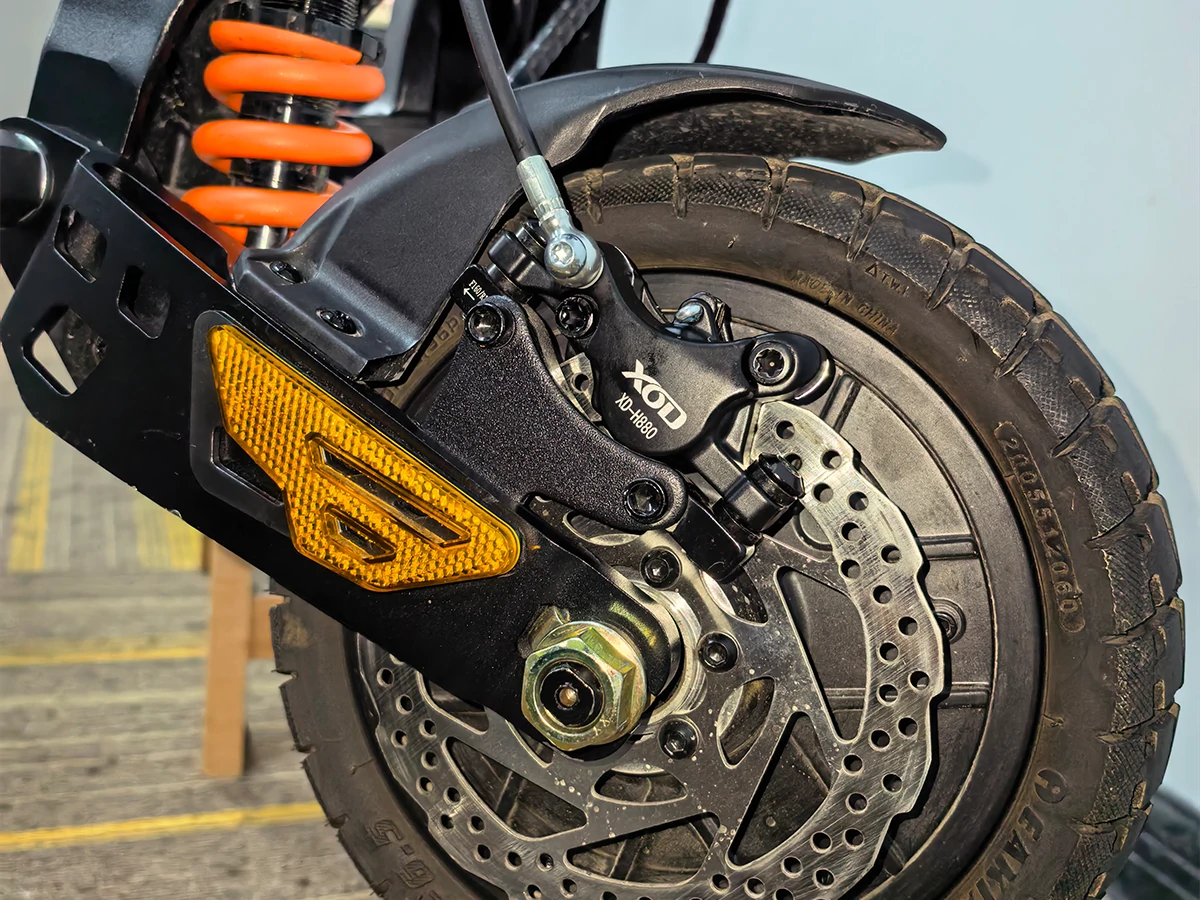
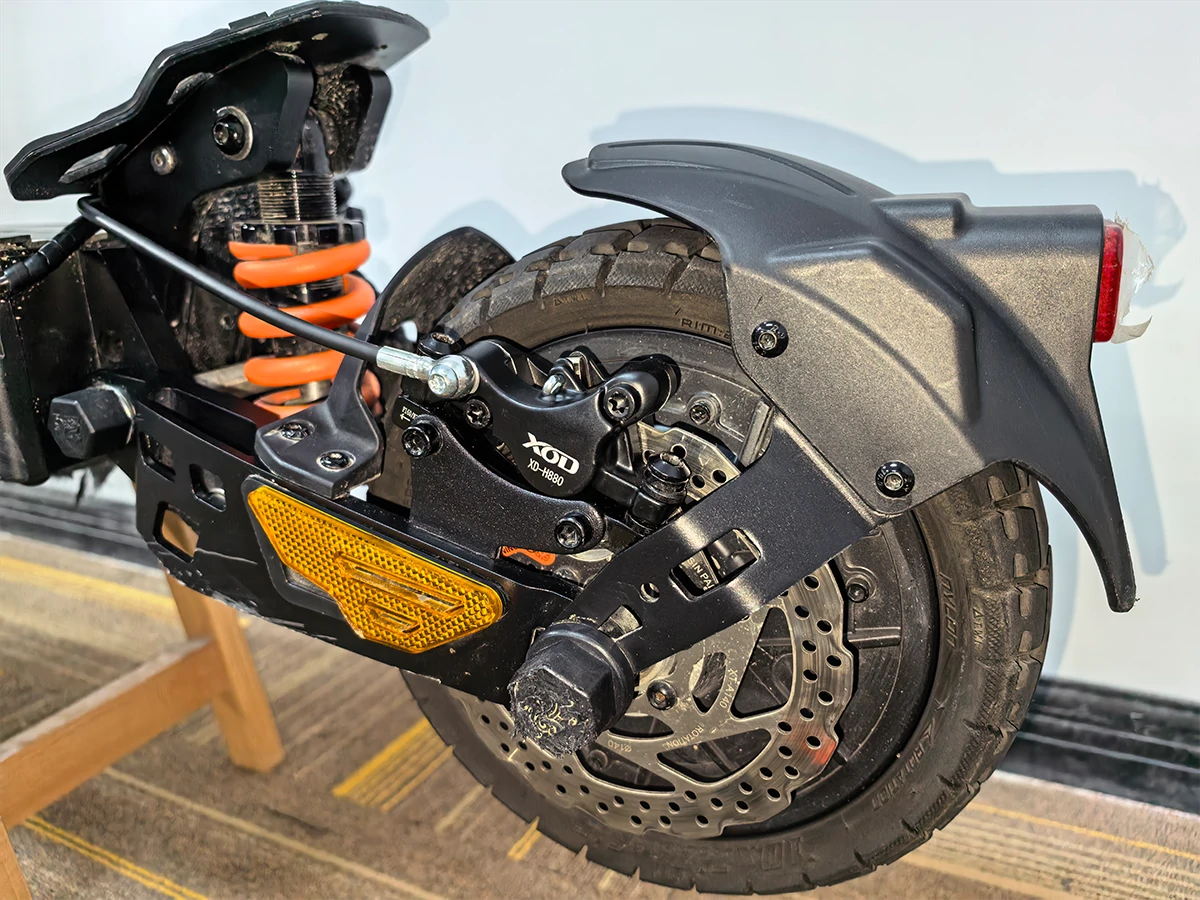
This guide shows a real XOD H880 hydraulic brake upgrade on a KuKirin G2 Master 2025 electric scooter. For this 2025 version, the front brake disc is on the right side, the rear brake disc is on the left side, and both the front and rear wheels use XOD H880 hydraulic brakes.
This article focuses only on the KuKirin G2 Master 2025 version shown here. Other KuKirin G2 Master model years may use different brake layouts, so always check your own scooter before ordering or installing.
Quick Answer: For the KuKirin G2 Master 2025 version shown in this guide, the front wheel uses XOD H880 and the rear wheel also uses XOD H880. The front brake disc is on the right side, and the rear brake disc is on the left side.
Not sure whether your scooter needs H800 or H880? Read the XOD H800/H880 Fitment Guide before ordering.
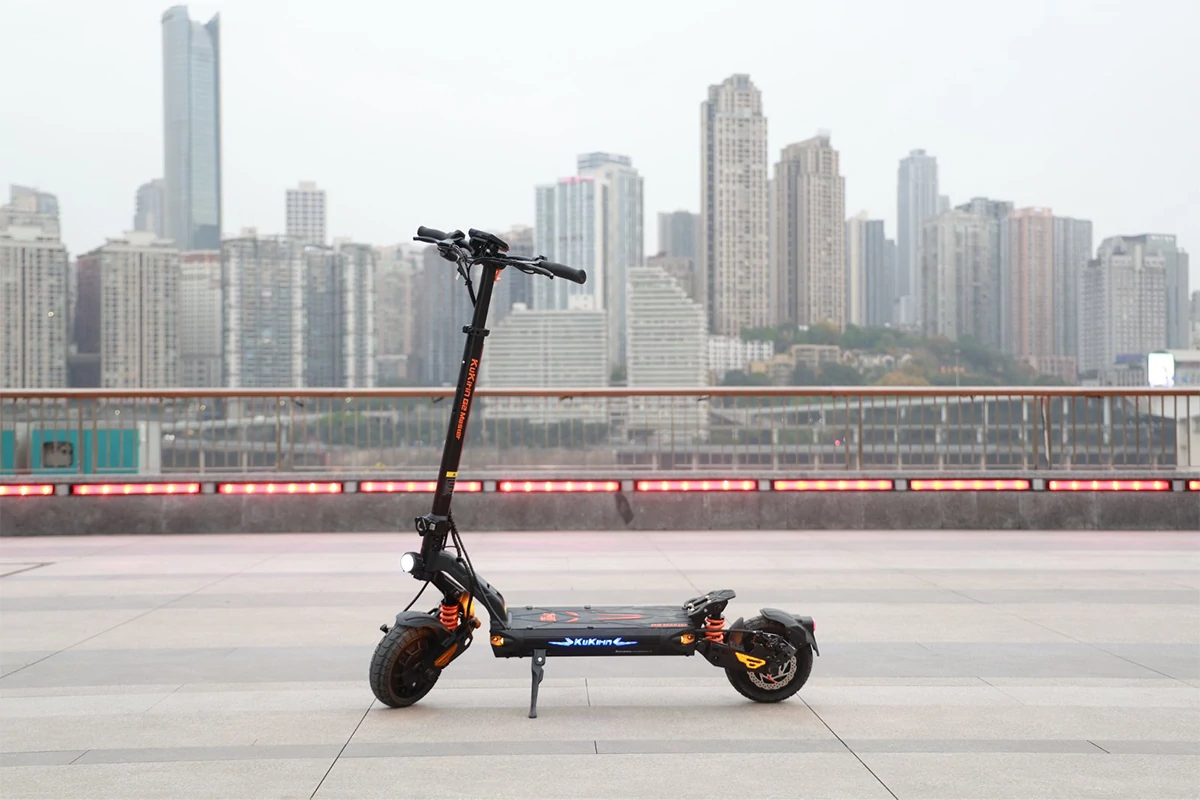
Why Upgrade the KuKirin G2 Master Brakes?
The KuKirin G2 Master is a high-power electric scooter, so brake control matters. Many riders choose a hydraulic brake upgrade for smoother lever feel, stronger braking response, and less frequent cable adjustment compared with mechanical disc brakes.
- ✔ Smoother braking control for daily riding and higher-speed scooter use.
- ✔ Hydraulic brake response with less cable stretch than mechanical systems.
- ✔ XOD H880 front and rear setup for the KuKirin G2 Master 2025 version shown here.
- ✔ ABS power-off support when the brake lever connector is correctly connected.
Fitment Check for This KuKirin G2 Master 2025
For this specific KuKirin G2 Master 2025 installation, both wheels use XOD H880. The key fitment details are shown below:
| Wheel Position | Brake Disc Side | XOD Model Used |
|---|---|---|
| Front Wheel | Right Side | XOD H880 |
| Rear Wheel | Left Side | XOD H880 |
Important: This result applies to the KuKirin G2 Master 2025 version shown in this article. Do not assume every G2 Master model year uses the same brake layout.
Brake Lever Connector and ABS Power-Off Sensor Check
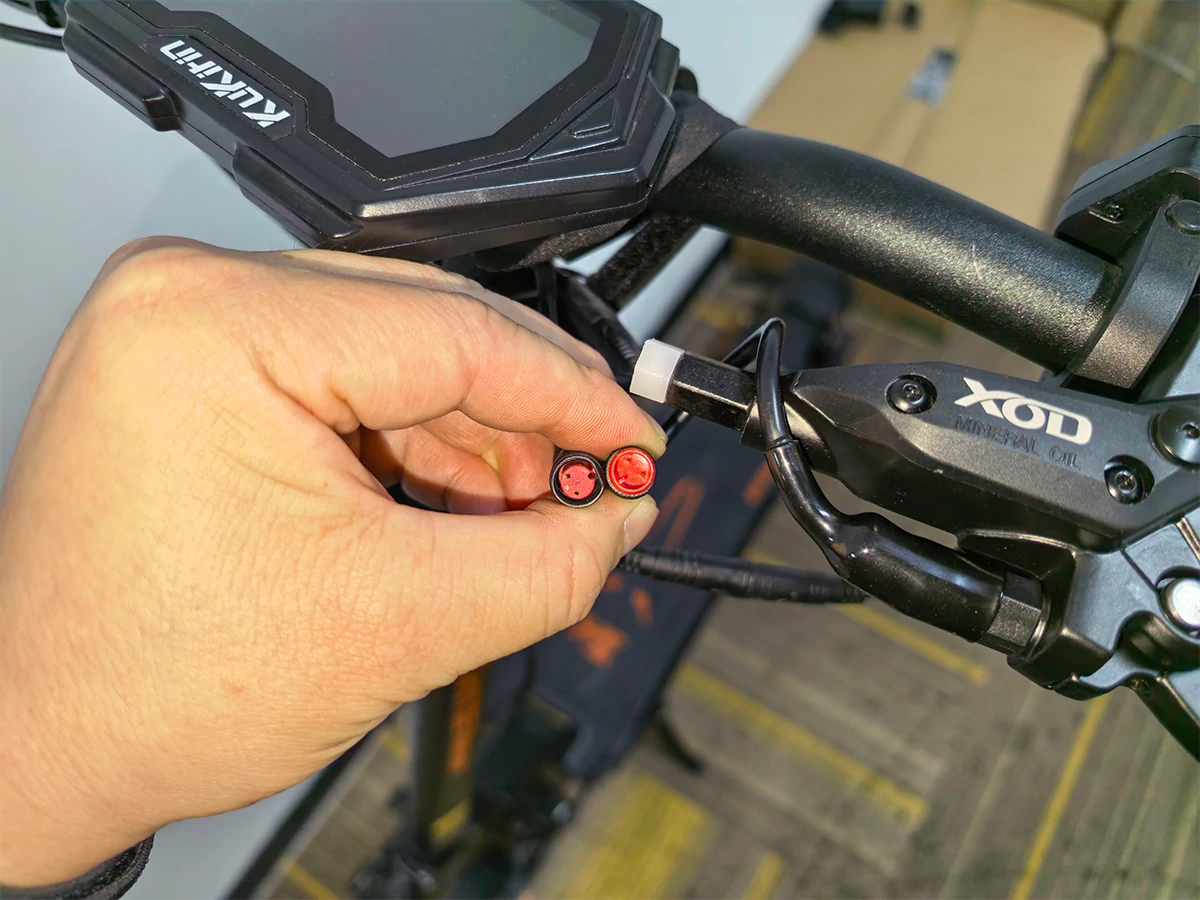
Before installation, check the original brake lever connector and the XOD H880 brake lever connector. For the KuKirin G2 Master 2025 setup shown here, the XOD H880 brake lever supports the ABS power-off / motor cut-off function, and the brake lever connector is fully compatible.
Connector Tip: To connect the ABS power-off sensor correctly the first time, align the black arrows on both connector ends before pushing the plugs together. Do not force the connector if the arrows are not aligned.
Brake Lever and Oil Hose Installation Tutorial
The photos in this article show the KuKirin G2 Master 2025 H880 installation result. For the detailed brake lever and oil hose connection steps, read the official XOD installation tutorial.
Installation Notes from This G2 Master 2025 Build
This article does not replace the complete XOD user manual. It highlights the main fitment and installation points from this KuKirin G2 Master 2025 H880 build.
1. Front and Rear Brake Position
In this example, the front brake disc is on the right side and the rear brake disc is on the left side. Both positions use XOD H880. Always compare your own scooter with the photos before ordering.
2. Hose Routing Note
To route the brake hose on the KuKirin G2 Master 2025, remove the deck or footboard screws using a low-torque electric screwdriver or the tools supplied in the KuKirin toolkit. Then follow the original brake cable path and replace the mechanical brake cable with the XOD hydraulic hose. Before closing the deck, make sure the hose is not twisted, pinched, pulled too tight, or rubbing against the tire, rotor, folding mechanism, or sharp frame edges.
3. Caliper Alignment
After mounting the XOD H880 caliper, keep the caliper mounting bolts slightly loose first. Before tightening the bolts fully, use one hand to squeeze and hold the matching brake lever. This lets the rotor sit naturally in the center of the caliper between the brake pads. While holding the brake lever, tighten the caliper mounting bolts gradually. This simple trick helps center the caliper in one step and reduces the chance of rotor rubbing.
Pro Tip: Hold the brake lever first, then tighten the caliper bolts. This helps the brake disc stay centered inside the caliper during tightening.
4. Final Safety Check
- ✔ The brake lever should feel firm, not soft or spongy.
- ✔ The rotor should not rub constantly against the brake pads.
- ✔ The hydraulic hose should not be twisted, pinched, or pulled too tight.
- ✔ The ABS power-off sensor should cut motor power when the brake lever is pressed.
- ✔ Test the scooter at low speed before normal riding.
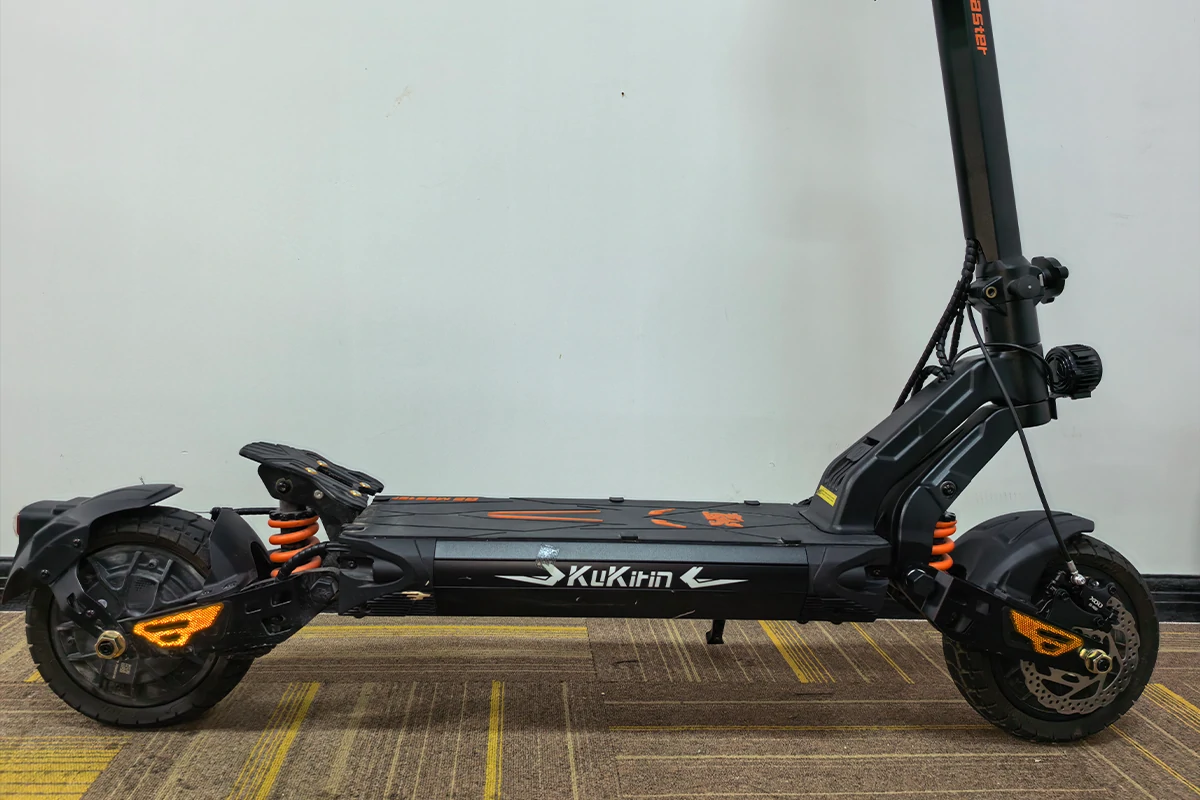
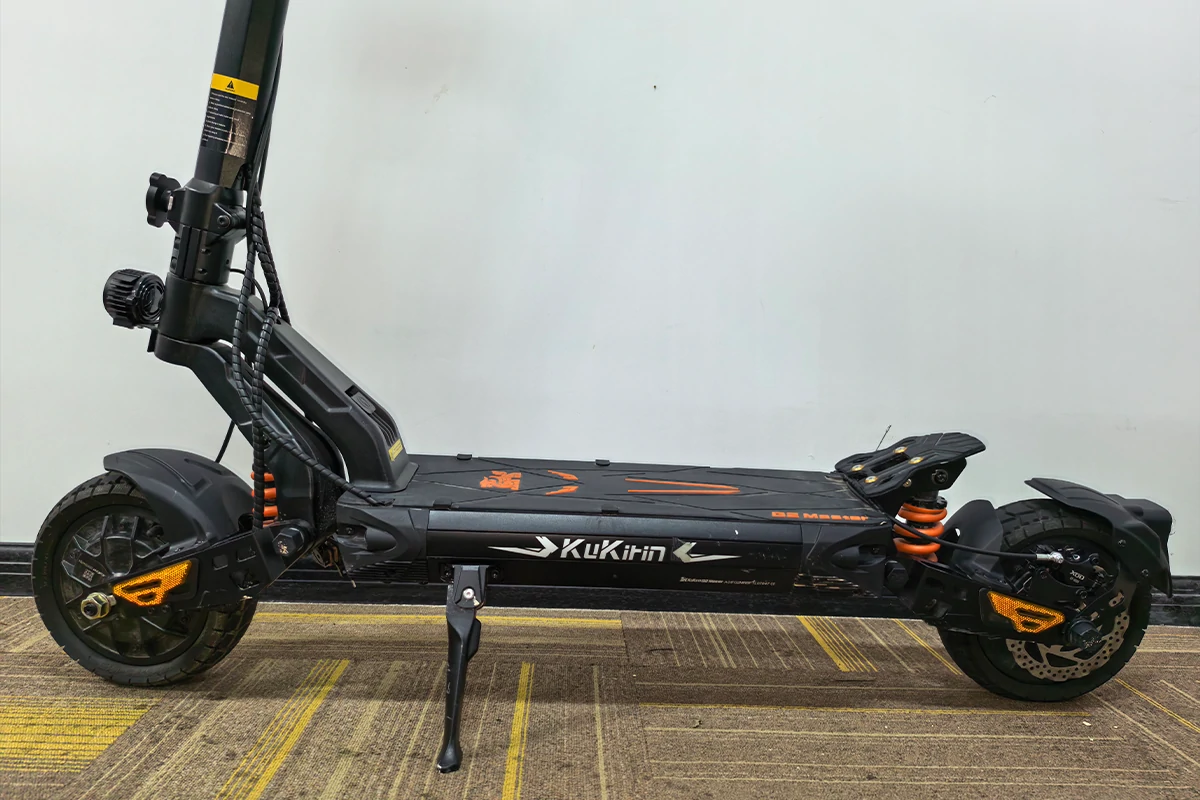
Finished XOD H880 Installation on KuKirin G2 Master 2025
The photos below show the completed XOD H880 hydraulic brake upgrade from both sides of the scooter. Use these photos as a visual reference, but always confirm your own scooter layout before copying this setup.
Common Mistakes to Avoid
- ✘ Assuming all KuKirin G2 Master versions use the same brake layout.
- ✘ Choosing H800 or H880 without checking the model year and brake disc side.
- ✘ Connecting the ABS power-off sensor without aligning the black arrows.
- ✘ Routing the hydraulic hose too close to the tire, rotor, suspension, or folding mechanism.
- ✘ Tightening the caliper before centering it over the rotor.
- ✘ Riding at high speed before a safe low-speed braking test.
FAQ
Which XOD brake fits KuKirin G2 Master 2025?
KuKirin G2 Master 2025 uses XOD H880 hydraulic brakes on both the front and rear wheels. In this guide, the front brake disc is on the right side, and the rear brake disc is on the left side.
Does KuKirin G2 Master 2025 use H800 or H880?
KuKirin G2 Master 2025 uses XOD H880 hydraulic brakes for both wheels. If you have another G2 Master model year, check your brake disc side and caliper mounting position before ordering.
Why does this G2 Master use H880 for both front and rear?
This setup is based on the brake layout of the KuKirin G2 Master 2025 shown here: front right brake disc and rear left brake disc. This layout matches the XOD H880 front and rear setup used in this guide.
Does the XOD H880 brake lever support motor power-off?
Yes. For the KuKirin G2 Master 2025 setup shown in this guide, the XOD H880 brake lever supports the ABS power-off / motor cut-off function, and the brake lever connector is fully compatible. Align the black arrows on both connector ends before connecting the plug.
Can I install XOD H880 hydraulic brakes on G2 Master myself?
Experienced riders or mechanics may install the kit, but hydraulic brake installation affects riding safety. You need to check hose routing, caliper alignment, brake lever feel, ABS power-off sensor function and low-speed braking before normal riding.
Where can I read the brake lever and hose installation tutorial?
You can read the official XOD brake lever and oil hose installation tutorial through the Installation & User Manual page linked above. It includes more details about brake lever connection, oil hose installation, mineral oil safety and troubleshooting.
Upgrade Your KuKirin G2 Master 2025 with XOD H880
If your KuKirin G2 Master 2025 has the same brake layout shown in this guide, XOD H880 is used for both the front and rear wheels. If your scooter looks different, contact XOD with clear photos before ordering.