
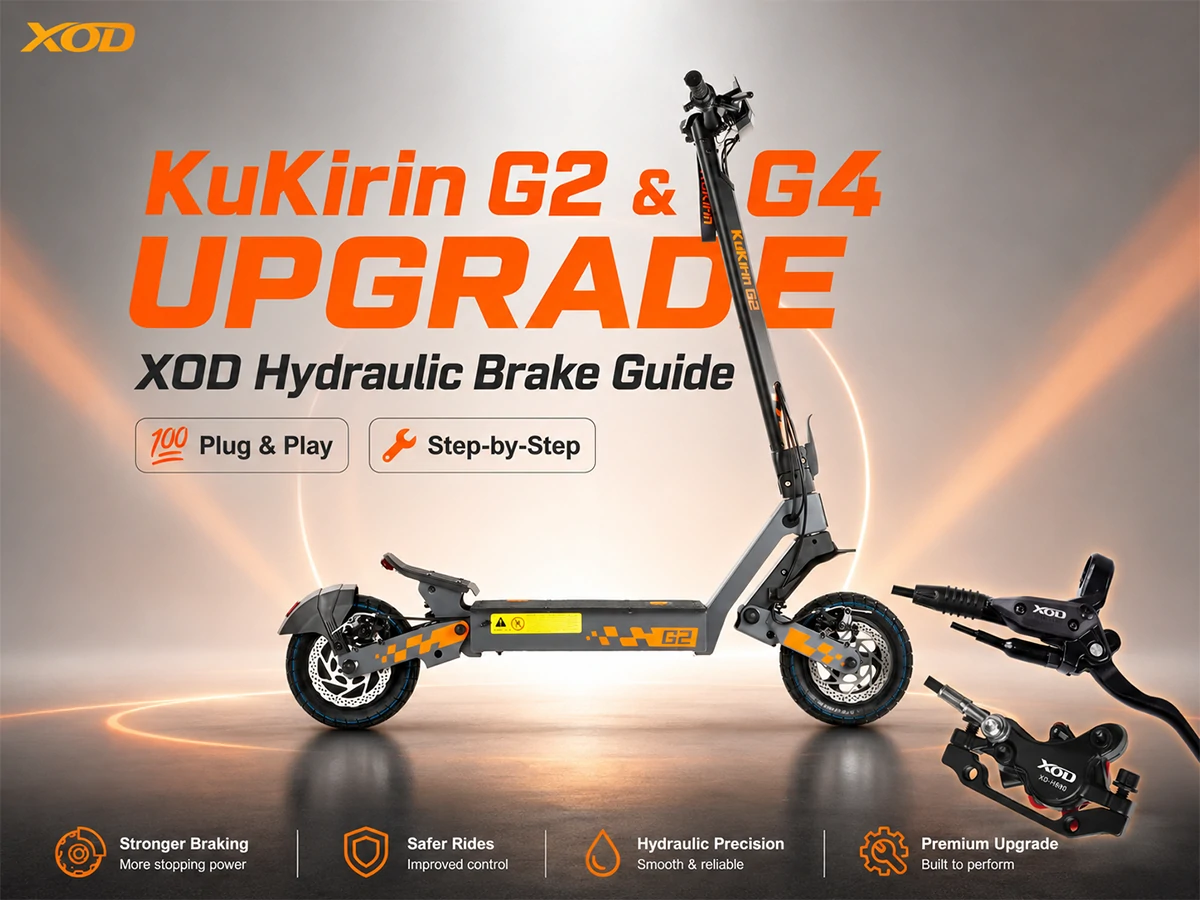
- 🛴 KuKirin Upgrades: XOD hydraulic brakes offer massive stopping power.
- 🛠️ Unique Designs: KuKirin G2 and G4 models require specific installation tricks.
- 🧠 Engineering Fact: Hydraulic dual-piston calipers are physically larger than factory mechanical ones, leading to tight clearances.
🌟 Trusted by KuKirin Riders
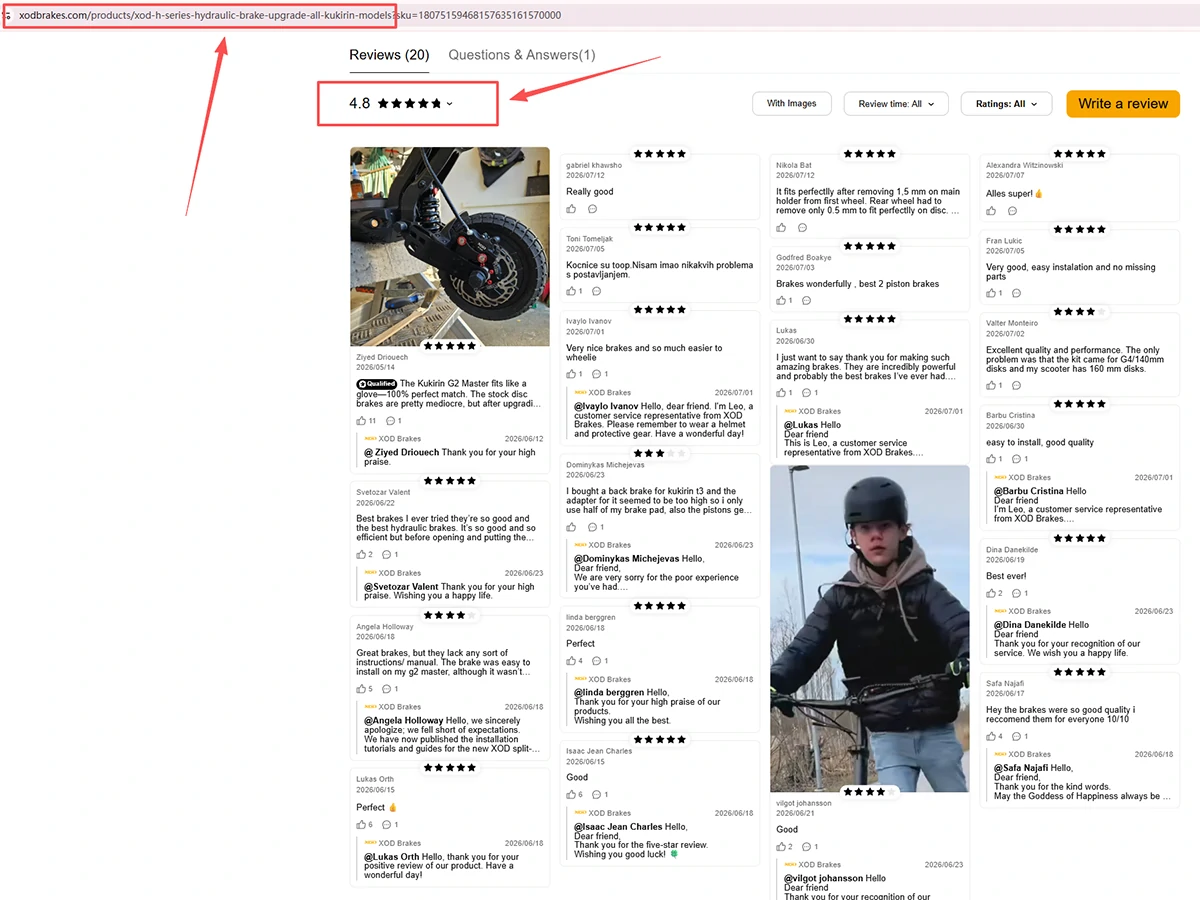
- ⭐⭐⭐⭐⭐ 4.8 Star Rating: Backed by nearly 20 verified customer reviews.
- 🆚 Best Alternative: The most cost-effective, plug-and-play solution compared to complex Magura or Nutt brake mods.
- 🤝 Proven Success: Dozens of riders have successfully completed this exact upgrade.
🛴 KuKirin G2 Secrets: The Rotor Spacer
If you own a KuKirin G2, the front fork space is incredibly tight. Upgrading requires a simple workaround:
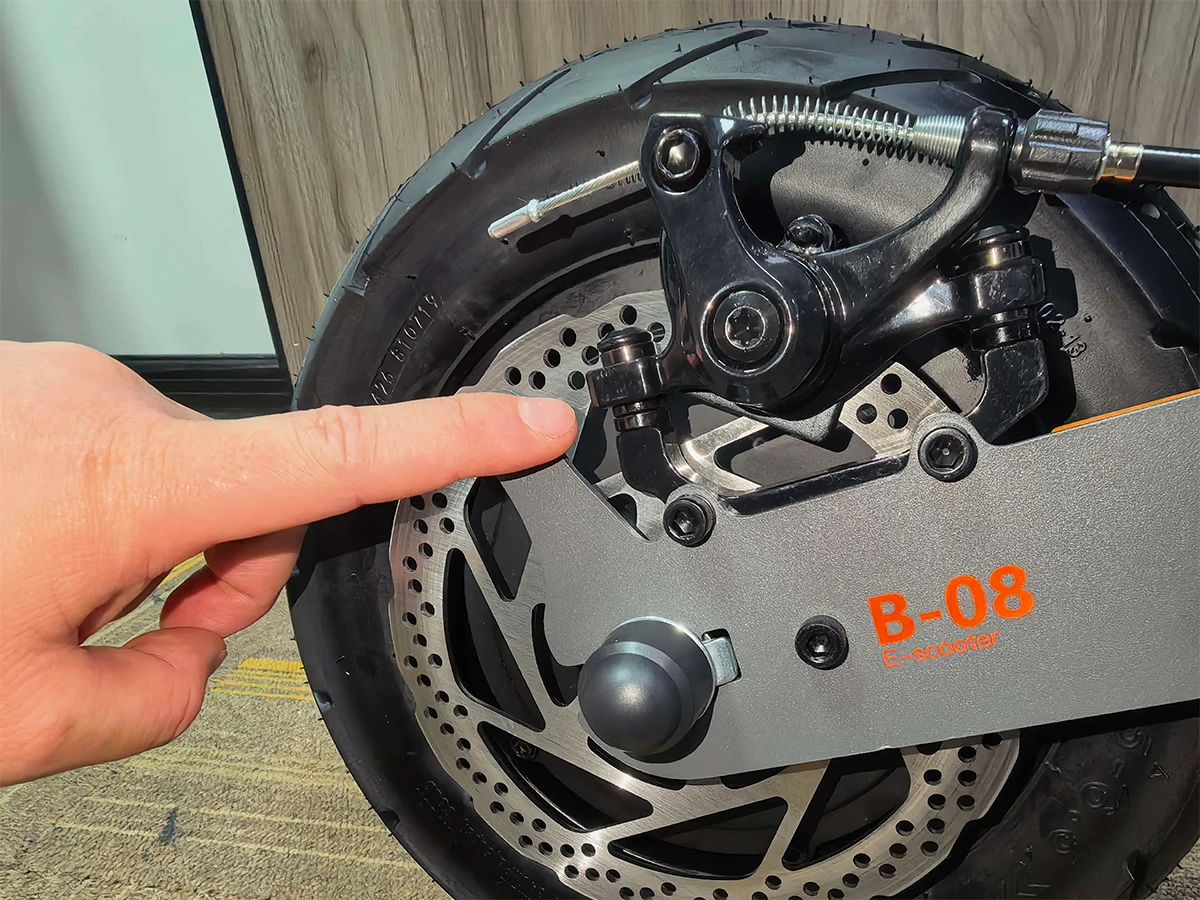
- 📏 The 140mm vs 160mm Issue: Newer G2 models use 160mm rotors.
- ⚠️ The Rubbing Problem: Because XOD dual-piston calipers are wider than stock brakes, they may rub against the tire on a 160mm setup.
- ✅ Solution A (Change Rotor): Replace your stock rotor with a 140mm XOD Premium Universal Brake Rotor for instant clearance.
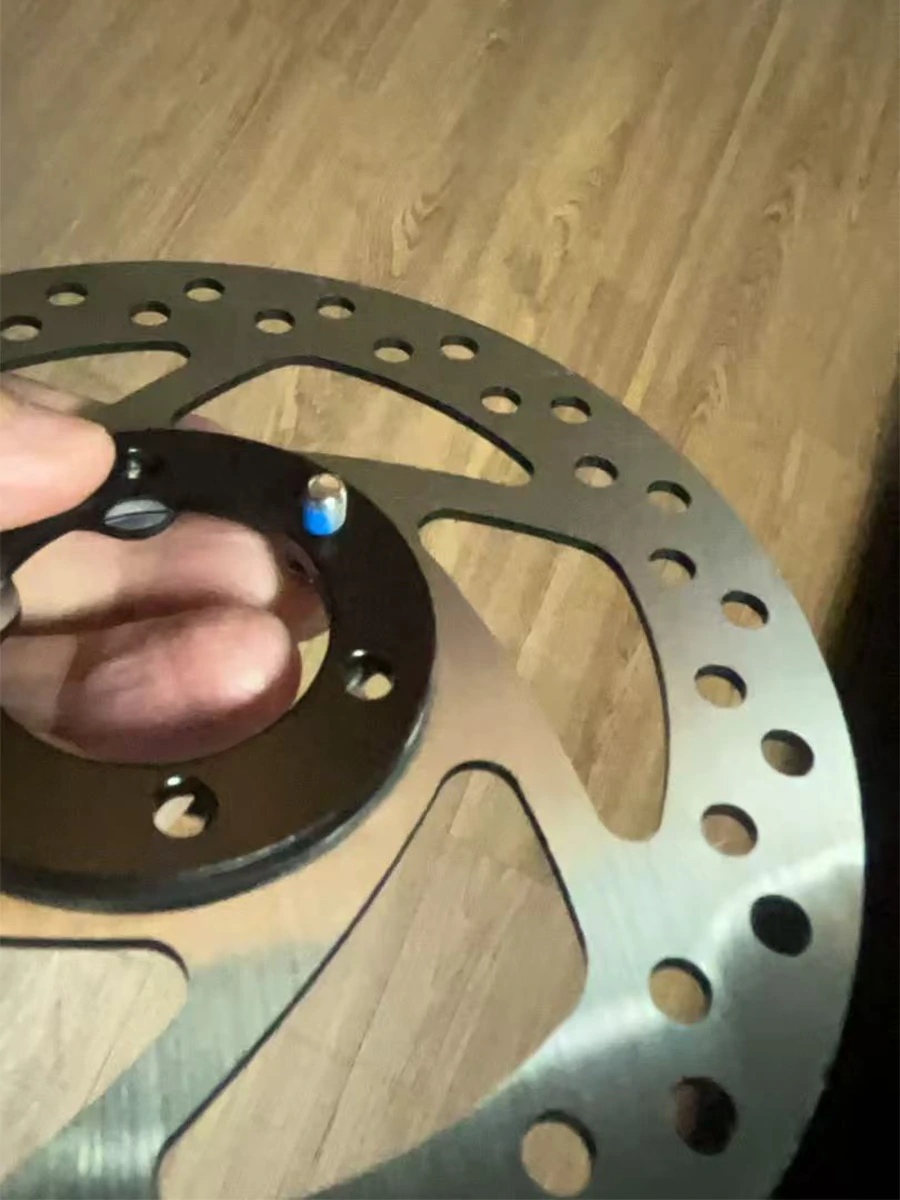
- 🔥 Solution B (Keep Rotor): Use a Brake Disc Shim/Spacer between the motor and the brake rotor.
🛒 How to Get the Right Brake Disc Spacer
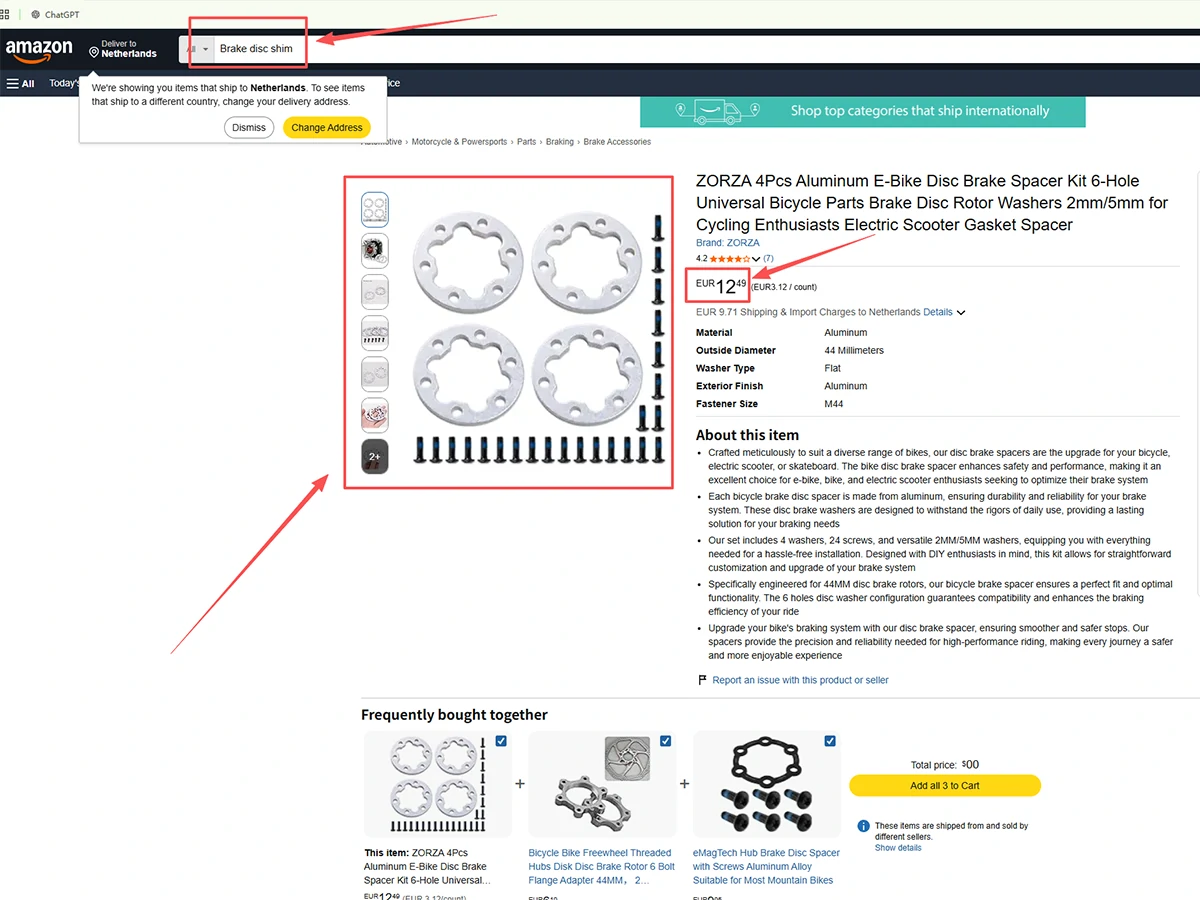
- 📏 Exact Dimensions: Thickness: 4mm (Recommended) | BCD: 44mm | Outer Diameter: 55mm | Inner Diameter: 33mm.
- 🔍 Where to Buy: Search for "Brake disc shim" or "Bicycle disc brake spacer 44mm" on Amazon.
- 💡 Pro Tip: Buy a 2mm-5mm combination kit and stack them to achieve the perfect 4mm to 5mm offset.
🛑 CRITICAL WARNING
- DO NOT SQUEEZE THE BRAKE LEVER before the caliper is securely mounted over the brake rotor.
- Squeezing the lever while the caliper is empty will push the pistons out completely, causing catastrophic oil leakage!
🚀 KuKirin G4 Secrets: Keep The Washers
For KuKirin G4 owners, the caliper upgrade is straightforward, but do not make this common mistake:
- 🔧 When removing your original mechanical caliper, you will remove 6 to 8 bolts.
- 💡 DO NOT throw away the metal washers!
- 🎯 You absolutely must reuse these original metal washers to perfectly center your new XOD hydraulic caliper over the brake rotor.
🔌 The Display Cable Mismatch
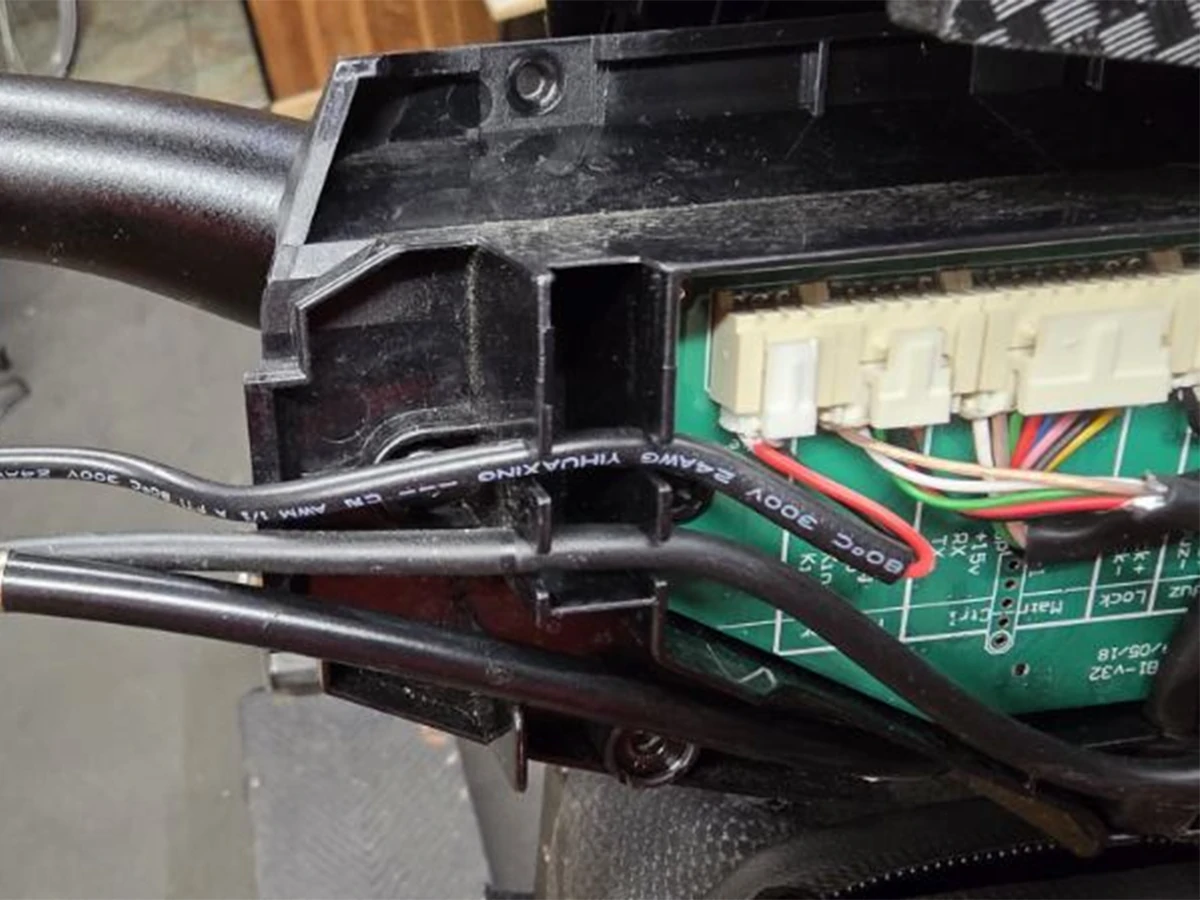
The KuKirin G2 and G4 displays use a proprietary internal wiring harness that does not instantly match universal e-bike brake sensors.
- 👀 As seen below, the internal connectors are highly specific.
- ✂️ The Hard Way: Cut your old mechanical lever's wire and solder it to the new XOD lever.
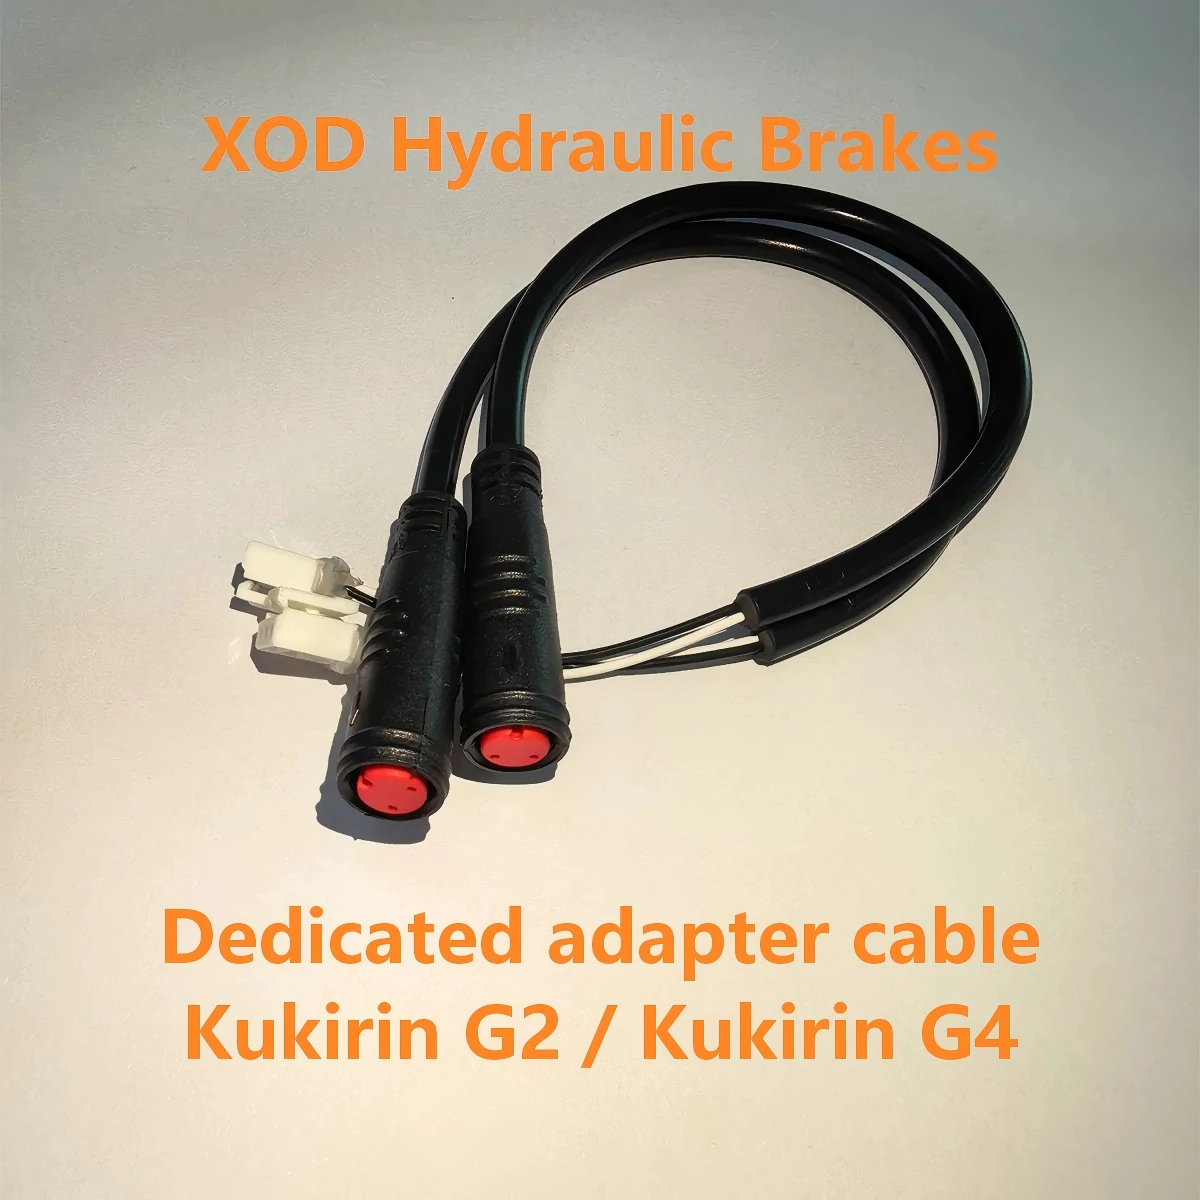
- ✨ The Easy Way: Purchase our custom adapter cable for a direct plug-and-play connection.
🛠️ Daily Maintenance & Expert Support
- 🛑 Monitor Pad Wear: Hydraulic brakes generate massive bite force, meaning brake pads wear out faster. Always use XOD Official Replacement Brake Pads to maintain peak performance.
- 📖 Follow Instructions: Before touching any screws, review our official Split-Type Installation Guide.
- 👨🔧 Don't Force It: If you get stuck, take your scooter and the XOD kit to a local scooter repair shop.
- 💬 We Are Here To Help: Have an installation question? Email our technical team at service@xodbrakes.com. We guarantee a reply within 24 hours on business days!